Winter overseeding cold-climate lawns: timing, seed selection, and establishment
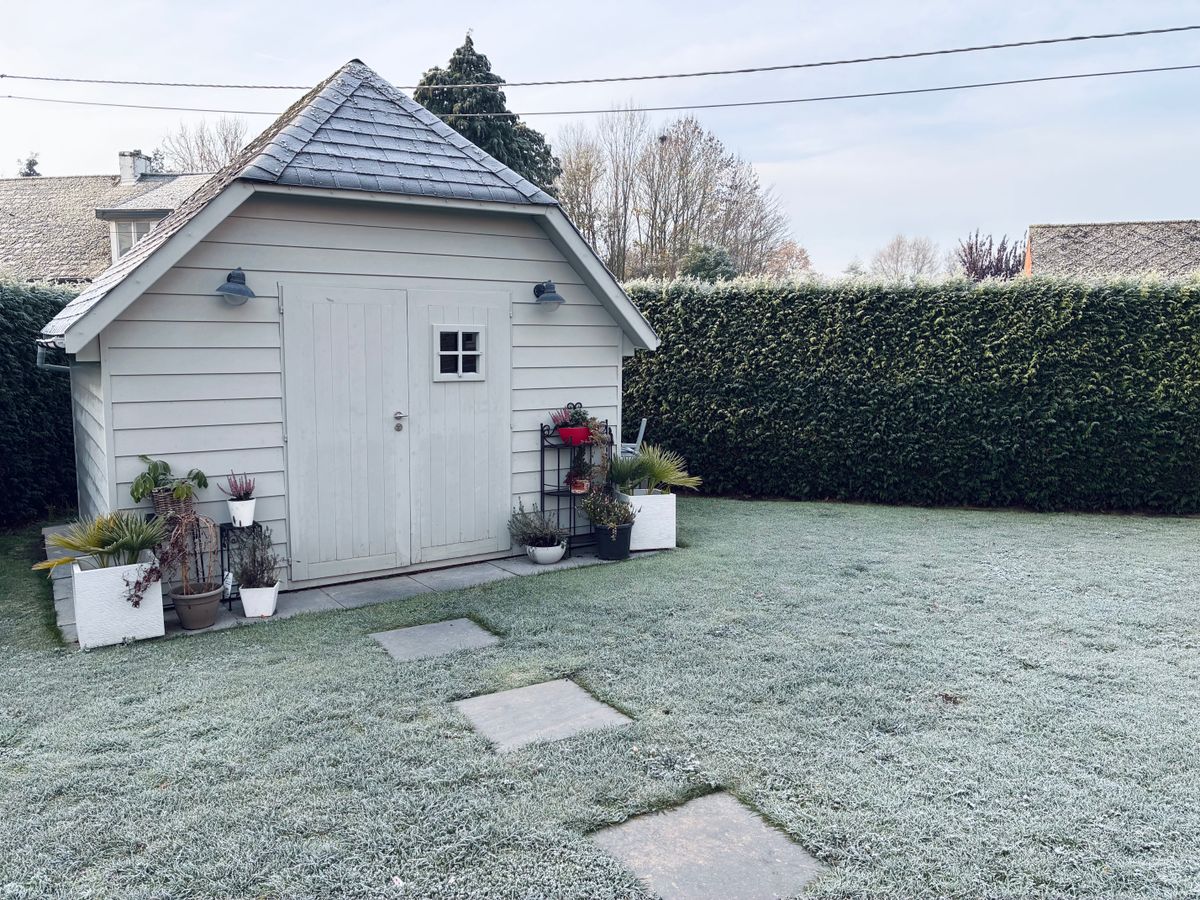
Photo by Lara Bellens on Pexels
By Tondio Team · AI-generated content
Master professional dormant seeding techniques to fill thin spots and block spring weeds. Timing, cultivar selection, and establishment protocols for cold climates.
Your competitors are going to wake up to a carpet of weeds in April while you're watching dense, healthy grass fill in those thin spots. The difference? You're dropping seed right now, while they're watching football and assuming their lawn season is over.
Dormant seeding—putting seed down on frozen or near-frozen ground in late winter—is the single most underutilized technique in cold-climate lawn management. The seed sits dormant through winter, then germinates the moment soil temperatures hit 45-50°F in spring, giving you 2-4 weeks of establishment time before crabgrass even thinks about waking up. No competition from active grass, no summer heat stress, and you're already mowing a thick stand before your neighbors apply their first pre-emergent.
Miss this window, and you're fighting an uphill battle all season. Here's how to do it right.
Why Dormant Seeding Works in Cold Climates
The science is simple: seed needs to be cold enough to stay dormant, but positioned perfectly to germinate the instant conditions are right. When you seed in late winter (typically January through early March depending on your zone), the seed experiences natural stratification—exposure to cold and moisture that actually improves germination rates for many cool-season varieties.
The critical advantage: Your seed germinates when soil temps hit 45-50°F, but crabgrass and other summer annuals need 55-60°F soil temps to break dormancy. That temperature gap gives you a 2-4 week head start where your desirable grasses establish without competition.
Common mistake: Seeding too early in winter. If your seed germinates during a warm spell in December or January, then gets hit by hard freezes, you've wasted money and effort. The goal is seed that stays dormant until spring truly arrives.
Pro tip: Use soil temperature data, not air temperature. A soil thermometer placed 1-2 inches deep at 8 AM should read consistently below 40°F before you seed. Track this in Tondio with daily temperature logs to identify your optimal seeding window year over year.
Cultivar Selection: Matching Seed to Your Existing Stand
You can't just throw down "contractor mix" and hope for the best. Dormant seeding requires cultivar matching to your existing turf because you're essentially blending new plants into an established community.
Cool-Season Turf Selection by Type
For Kentucky Bluegrass Lawns (Zones 3-6)
- Choose newer KBG cultivars with improved germination speed: Bewitched, Bluebank, or Midnight II
- Blend in 10-20% perennial ryegrass (Paragon GLR, Axion) for faster establishment and nurse grass effect
- Seeding rate: 4-6 lbs per 1,000 sq ft for thin areas, 2-3 lbs per 1,000 sq ft for general density improvement
- Why: KBG is slow to germinate (21-28 days), so the rye fills gaps faster while KBG establishes its rhizome network
For Tall Fescue Lawns (Zones 5-7)
- Stick with turf-type tall fescue (TTTF) blends: Bullseye, Titanium 2LS, or Firecracker SLS
- Avoid mixing in KBG or fine fescue—TTTF is bunch-type and won't blend well
- Seeding rate: 6-8 lbs per 1,000 sq ft for overseeding (TTTF seed is larger, needs higher rates)
- Why: TTTF germinates faster than KBG (10-14 days) and your spring window is critical for deep root establishment
For Fine Fescue Lawns (Zones 3-6, shade/low-input areas)
- Select newer hard fescue or Chewings fescue varieties: Gladiator, Shadow IV, or Navigator II
- Can blend with 30% KBG if transitioning to more sun-tolerant areas
- Seeding rate: 4-5 lbs per 1,000 sq ft
- Why: Fine fescues tolerate the freeze-thaw cycles better than other species and establish in cooler soils
Regional Climate Zone Considerations
Zone 3-4 (Minnesota, Wisconsin, Maine):
- Latest seeding window: mid-February to mid-March
- Favor cold-hardy cultivars with improved snow mold resistance
- Spring green-up typically late April to early May
Zone 5-6 (Illinois, Indiana, Pennsylvania):
- Seeding window: late January to late February
- Widest cultivar selection available
- Spring green-up: mid-to-late April
Zone 7 (transitional areas):
- Earlier window: early to mid-January
- Consider heat tolerance in cultivar selection for late spring
- Green-up: late March to early April
Pro tip: Document your exact cultivar choices and seeding rates in Tondio with photos. When you evaluate results in May, you'll have data to refine your approach for next year.
Soil Preparation Without Destroying Dormant Grass
This is where most people either do too little or too much. Your goal: create enough soil disturbance for seed-to-soil contact without scalping or damaging crowns of dormant grass.
The Aggressive-But-Not-Too-Aggressive Approach
Step 1: Core Aeration (if ground isn't frozen solid)
- If soil temps are 35-40°F and ground is workable, core aerate before seeding
- Use standard 0.5-0.75 inch tines, make 2-3 passes in different directions
- Why: Cores provide perfect seed pockets and the disruption won't harm dormant grass
- If ground is frozen: Skip this step entirely—you can't aerate frozen soil effectively
Step 2: Aggressive Dethatching or Power Raking
- Set your dethatcher blades to just touch the soil surface
- Make one pass in each direction (perpendicular)
- You want to see soil exposure in 30-40% of the lawn area
- Why: Dormant grass has no active leaves to damage, but roots and crowns remain intact
- Common mistake: Going too deep and ripping out crowns—you'll see bare spots in spring instead of thicker grass
Step 3: Remove or Redistribute Debris
- Light debris (0.5 inches or less): Leave it—it protects seed through freeze-thaw
- Heavy debris piles: Remove or redistribute—seed needs soil contact, not a thatch blanket
- Why: Seed on top of thick debris layer will dry out or wash away
The Minimal-Disturbance Method (for sensitive areas)
If you're working with established high-value turf or areas where you can't risk any damage:
- Use a slit seeder with shallow blade depth (0.25 inch maximum)
- Make single-direction passes at 50% overlap
- Deposits seed directly into slits with minimal surface disruption
- Higher equipment cost but significantly lower risk
Pro tip: Use Tondio's multi-location feature to track which preparation method you used in different areas. Rate the results in spring to optimize your process.
Seeding Rates and Timing Relative to Frost Dates
Timing is everything in dormant seeding. Too early and you risk germination followed by freeze damage. Too late and you miss the optimal spring establishment window.
Finding Your Perfect Window
The calculation:
- Find your average last frost date for your location
- Count back 8-10 weeks—this is your dormant seeding target window
- Verify soil temps are consistently below 40°F at 2-inch depth
Example for Zone 5b (Chicago area):
- Average last frost: April 20
- Count back 9 weeks: February 15-20 (ideal seeding window)
- Soil temps in mid-February: typically 32-38°F (perfect)
Example for Zone 6a (Kansas City area):
- Average last frost: April 10
- Count back 9 weeks: February 1-5 (ideal window)
- Soil temps: 35-40°F (good to go)
Adjusting Seeding Rates for Dormant Application
Standard overseeding rates need 20-30% increases for dormant seeding because:
- Some seed will be lost to freeze-thaw heaving
- Wildlife feeding increases in winter (birds love grass seed)
- Germination rates drop slightly compared to optimal spring seeding
Adjusted rates:
- Kentucky Bluegrass overseeding: 5-7 lbs per 1,000 sq ft (up from 4-5)
- Tall Fescue overseeding: 8-10 lbs per 1,000 sq ft (up from 6-8)
- Perennial Ryegrass: 6-8 lbs per 1,000 sq ft (up from 5-6)
- Fine Fescue: 5-6 lbs per 1,000 sq ft (up from 4-5)
Application technique:
- Use a broadcast spreader for even distribution
- Make two perpendicular passes at half-rate each direction
- Add a light topdressing (0.125-0.25 inch) of compost if available—improves seed-soil contact and moisture retention
Pro tip: Use Tondio's coverage calculation feature to track exact square footage and seed quantities. Enter your actual seeding rates so you can calculate cost-per-thousand and compare to professional services.
Moisture Management: Winter Through Spring
This is the trickiest part of dormant seeding. You can't control winter precipitation, but you can set yourself up for spring success.
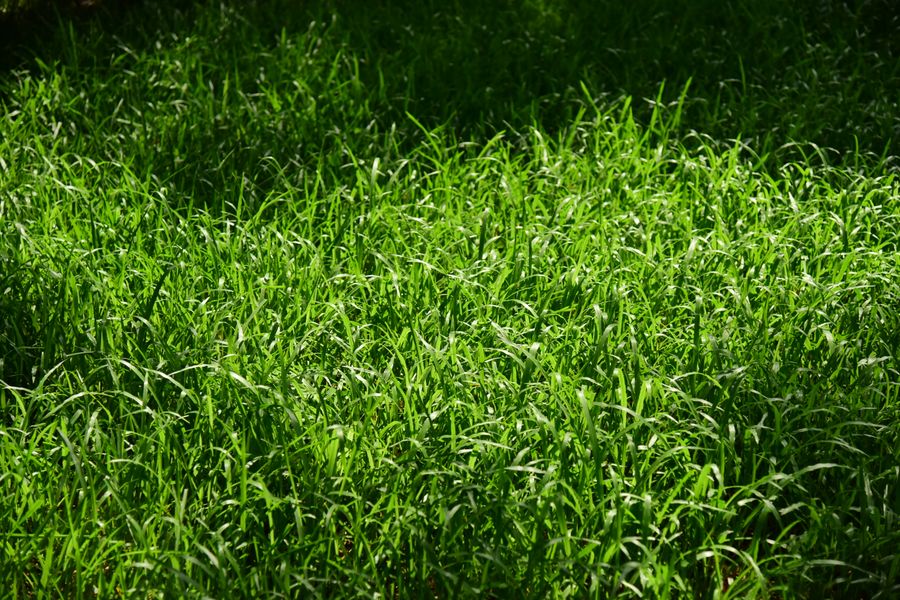
Photo by Sóc Năng Động on Pexels
Winter Phase (Seeding to First Thaw)
What's happening: Seed is dormant, experiencing cold stratification, absorbing some moisture from snow melt and ice.
Your job: Essentially nothing. Let nature handle it.
DO NOT:
- Water in freezing temperatures (creates ice layers that can smother seed)
- Apply heavy topdressing that prevents spring moisture penetration
- Walk on seeded areas repeatedly—frozen ground is fine for light traffic, but repeated traffic compacts soil
DO:
- Monitor snow cover—consistent snow is actually protective
- Document thaw/freeze cycles (helps explain germination patterns later)
- Check for wildlife damage if seed is exposed
Early Spring Phase (First Thaw to Germination)
What's happening: Soil temps rising toward 45°F, seed beginning to imbibe water and swell.
Critical period: The 2-3 weeks before visible germination are when seed is most vulnerable to desiccation.
Moisture protocol:
- When soil temps hit 40-42°F: Begin monitoring surface moisture daily
- When soil temps hit 45°F: Start light irrigation if no rain in forecast
- Target: Top 0.5 inch of soil stays consistently moist (not saturated)
- Frequency: Light watering 1-2x daily (10-15 minutes per zone)
- Common mistake: Heavy infrequent watering that promotes fungal disease
Post-Germination Phase (Green shoots visible)
What's happening: Root systems establishing, plant using moisture actively.
Moisture protocol:
- Transition to deeper, less frequent watering
- Target: Top 1-2 inches of soil moist, allowing surface to dry between waterings
- Frequency: Once daily or every other day depending on temperature and wind
- As grass reaches 1.5-2 inches height, transition to normal lawn watering schedule
Disease prevention:
- Avoid evening or night watering when temps are below 50°F—invites Pythium and other cold-temp pathogens
- If you see white cottony growth (Pythium) or pink slimy patches (Pink snow mold), reduce watering frequency immediately
- Morning watering only until consistent temps above 55°F
Pro tip: Set Tondio reminders for soil temp checks and watering schedule transitions. Take weekly photos from the same spots to document emergence patterns.
Evaluating Success: Seeds, Grass, or Weeds?
By late April or early May (depending on your zone), you're looking at a lawn that's greening up. But what exactly are you looking at?
Identifying New Seedlings vs. Dormant Turf Break
New grass seedlings (what you want to see):
- Narrow blade emergence in clusters or rows (following your seeder pattern)
- Lighter green color than established grass (new leaves always lighter)
- Dense emergence in areas that were thin before seeding
- Visible 2-4 weeks before surrounding dormant turf fully greens up
Dormant turf breaking (also good—your existing grass survived):
- Wider, more mature blade structure compared to seedlings
- Darker green as it matures
- Even distribution matching your existing turf pattern
- Emerges simultaneously across the lawn based on soil temp and variety
How to tell them apart:
- Take photos at seeding time of your thin areas
- Compare to late April photos—new dense growth = successful germination
- Different textures: Run your hand over the area—new seedlings feel softer and finer than established grass
Distinguishing Weeds from Desirable Grass
This is critical. Not everything green in April is grass you seeded.
Cool-season annual weeds (germinated with your grass):
- Annual bluegrass (Poa annua): Lighter green, boat-shaped leaf tips, grows in patches
- Chickweed: Broadleaf with small white flowers, forms mats
- Henbit: Purple-pink flowers, square stems, hairy leaves
How to identify grass vs. weeds early:
- Look at blade structure: Grass has parallel veins, uniform blade width. Weeds have variable structures.
- Check growth pattern: Your seeded grass follows your application pattern. Weeds appear random.
- Pull one plant: Grass has fibrous root system. Many weeds have taproots or shallow spreaders.
Decision point:
- If weed pressure is under 20%: Hand-pull or spot-treat after grass is established (3-4 mowings)
- If weed pressure is 20-40%: Evaluate pre-emergent timing (you might have seeded too late)
- If weed pressure exceeds 40%: Your timing was off or seed-soil contact failed—take notes in Tondio for next year's adjustment
Success Metrics to Track
By 4 weeks post-germination (mid-to-late May in most cold climates):
✓ Density improvement: Thin areas should show at least 50% coverage increase
✓ Uniformity: New grass growth should be relatively consistent across seeded areas
✓ Color matching: As seedlings mature (6-8 weeks), color should blend with established turf
✓ Low weed pressure: Weeds should account for less than 15% of coverage in overseeded areas
✓ No disease: No persistent fungal issues or die-back in new growth
Pro tip: Create a success checklist in Tondio with photo documentation at seeding, first emergence, 4 weeks, and 8 weeks. Rate each metric 1-10. After three seasons, you'll have data-driven insights into what works for your specific properties.
Your Dormant Seeding Action Plan
Here's your step-by-step checklist for successful winter overseeding:
6-8 Weeks Before Last Frost
- Calculate your target seeding date (8-10 weeks before last frost)
- Order seed—select cultivars matching existing turf and climate zone
- Verify equipment: aerator (if ground workable), dethatcher or slit seeder, spreader
- Calculate square footage and seed quantities with 20-30% rate increase
- Set up tracking system in Tondio for this project
2 Weeks Before Seeding
- Monitor soil temps daily—target consistent readings below 40°F
- Check 10-day weather forecast—avoid seeding before warm spell (above 50°F for 3+ days)
- Prepare equipment and calibrate spreader
Seeding Day (Late January-Early March)
- Core aerate if ground is workable (optional but beneficial)
- Dethatch or power rake—30-40% soil exposure target
- Apply seed in two perpendicular passes
- Light topdressing if available (0.125-0.25 inch compost)
- Document with photos and notes in Tondio
Winter Monitoring (Seeding to Spring Thaw)
- Weekly check-ins—note snow cover, thaw events, wildlife activity
- No irrigation during freezing temps
- Minimal foot traffic on seeded areas
Spring Emergence (Soil Temps 45°F+)
- Begin daily soil moisture monitoring
- Light irrigation 1-2x daily when soil surface dries
- Document first germination date
- Morning-only watering to prevent disease
Establishment Phase (First Mowing to 8 Weeks)
- First mowing at 2.5-3 inches height (sharp blade essential)
- Transition to less frequent, deeper watering
- Evaluate success at 4 weeks and 8 weeks
- Document weed pressure and any issues
- Update Tondio with final results and lessons learned
The Spring Advantage You're Creating Right Now
While other lawn pros are scrambling to seed in April and May—competing with early weed germination, fighting soil crusting, and hoping for consistent moisture—you've already got established grass growing.
Your dormant-seeded lawn will be mowing-ready 2-4 weeks earlier, will have deeper root systems from early establishment, and will show significantly lower weed pressure because your grass claimed that soil real estate first.
The weather's cold, the season feels long, but this is when championships are won. Drop that seed now, track it properly, and dominate in spring.
Ready to track your dormant seeding project from seed drop to full establishment? Tondio gives you the tools to document timing, track emergence, and build a year-over-year database of what actually works for your climate and properties. Start logging today.