Lawn Mower Maintenance Kit for Fall: What Actually Belongs in One and What You Can Skip
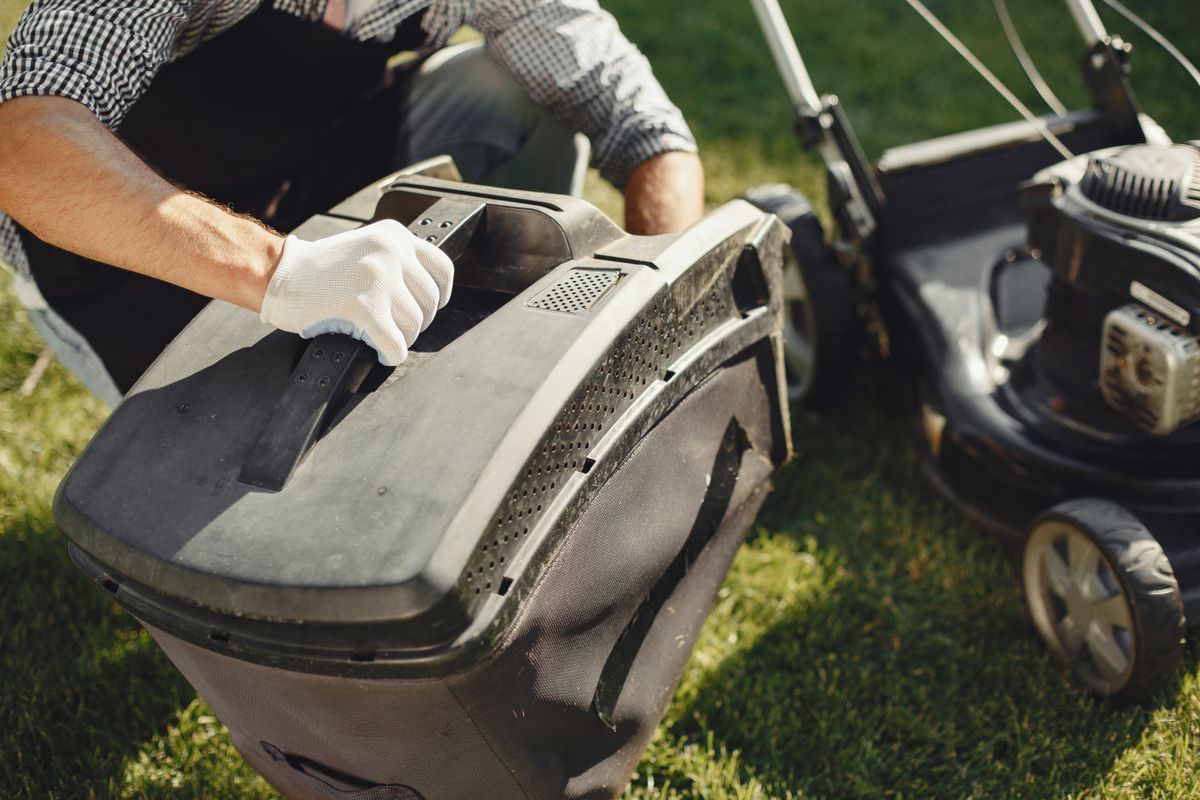
Photo by Gustavo Fring on Pexels
By Tondio Team · AI-generated content
Pre-packaged mower kits often include wrong-spec parts. Learn what a real fall kit needs, how to check compatibility, and how to build your own for under $25.
Lawn Mower Maintenance Kit for Fall: What Actually Belongs in One and What You Can Skip
Most pre-packaged mower maintenance kits sold at Bunnings, Home Depot, and Amazon are a decent idea executed poorly. The packaging looks thorough. The price feels reasonable. And then you get home and realise the spark plug is the wrong heat range for your Briggs & Stratton, the air filter is a universal press-fit that doesn't seal properly, and there's no fuel stabilizer in the box — which is arguably the most important thing you need heading into winter storage.
Fall mower servicing isn't complicated, but it does need to be done right. A mower that gets stored dirty, with old oil and a tank full of untreated fuel, is a mower that'll give you grief come spring — hard starts, varnished carburettors, and in worst-case scenarios, a piston that's been slowly corroding all winter because the oil broke down and left acids sitting against metal. Getting this right in 30 minutes in October saves you a $150+ carburettor rebuild in September.
This guide cuts through the kit confusion. We'll show you exactly what a complete fall service kit must include, how to check that any kit's parts actually fit your engine before you buy, and how to build your own kit for under $25 that outperforms the branded $45–60 options in nearly every case.
What a Complete Fall Mower Maintenance Kit Must Include
Let's start with what actually needs to happen when you put a mower away for 3–5 months. The engine is going to sit completely idle through temperatures that may swing from 15°C (60°F) down to -10°C (14°F) depending on your region. Fuel degrades. Oil separates and acidifies. Rubber seals dry out. Blades rust. Any service kit that doesn't account for all of these failure points is leaving you exposed.
A complete fall kit has five components — and most pre-packaged kits only include four.
1. Engine Oil (Full Synthetic 10W-30 or SAE 30)
This is non-negotiable. Old oil accumulates combustion byproducts — moisture, acids, carbon particles — over a season of use. Storing a mower with degraded oil means those acids sit against your cylinder walls and bearing surfaces for months. Always change the oil at the end of the season, not the beginning of the next.
For most four-stroke mowers operating in temperatures above 4°C (40°F), SAE 30 is the standard spec. If your fall temps drop below that before storage, 10W-30 is a safer choice for one final run. Full synthetic isn't required but offers noticeably better acid neutralisation and shear stability — worth the small price premium if your mower runs a Kawasaki FJ180 or Honda GCV200 engine that's doing real work.
You'll need approximately 500–600ml (about 18–20 oz) for most walk-behind mowers. Riding mowers vary significantly — check your operator's manual.
Common mistake: Using whatever oil is left in the garage from an automotive oil change. Your mower engine has different viscosity and detergent requirements. Don't do it.
2. Spark Plug (Engine-Specific, Not Universal)
This is where pre-packaged kits fail most often. A spark plug is not a spark plug. The heat range — that number after the letters on the plug designation — determines how quickly the plug dissipates heat from combustion. Put in a plug with the wrong heat range and you'll either foul it with carbon (too cold) or risk pre-ignition (too hot).
Briggs & Stratton engines commonly spec a Champion RC12YC or NGK BPR6ES. Honda GCV engines typically want an NGK BPR5ES. Kawasaki small engines often call for an NGK BR6ES. These are not interchangeable. A generic "fits most mowers" plug is a red flag.
Gap the plug correctly before installation — typically 0.76mm (0.030") for most small engines, but verify against your engine spec. A $2 feeler gauge pays for itself the first time you use it.
Pro tip: Write the plug spec directly on a piece of masking tape and stick it inside your mower's battery compartment or under the seat. You'll thank yourself next fall.
3. Air Filter (OEM-Spec or Quality Aftermarket)
The air filter protects your engine from abrasive particles. A clogged or poorly-sealed filter after a full season of mowing means your engine is either starving for air or ingesting fine dust past the filter edges. Neither is good.
Most walk-behind mowers use either a paper pleated element or a foam pre-filter (sometimes both). The dual-element setup — paper inner, foam outer — is significantly better at catching fine particulates, and if your mower supports it, you should be running one.
The critical issue with kit-supplied filters is fit. A filter that's 1–2mm undersized won't create a proper seal against the air filter housing and will allow dust bypass right at the edges — defeating the entire purpose. Always cross-reference the part number against your engine model, not just the mower brand.
4. Fuel Stabilizer
Here's what most pre-packaged kits leave out entirely, even though it's arguably the most important fall-specific product in this list.
Untreated pump petrol begins to degrade in as little as 30 days. The lighter compounds evaporate, leaving behind a thicker, gummy residue that coats carburettor jets and passages. After 90+ days of storage — which is exactly what winter looks like — you can end up with a partially or fully blocked carburettor that won't respond to anything short of a full strip and clean.
Add fuel stabilizer to your last tank of the season and run the engine for 10 minutes to ensure the treated fuel circulates through the entire fuel system, including the carburettor bowl. Don't just pour it in and park it.
Good options include STA-BIL 360 Protection (which also fights ethanol-related corrosion) or Briggs & Stratton Advanced Formula Fuel Treatment. Use the rate specified on the bottle — typically around 30ml per 3.7L (1 fl oz per 1 gallon) — and don't overdose it thinking more is better. It isn't.
5. Blade Balancer
This is the item that's almost never in a pre-packaged kit, and it absolutely should be.
Sharpening your blade at the end of the season (or confirming it's balanced after any mid-season sharpenings) is basic mower health. An unbalanced blade creates vibration that stresses the crankshaft, spindle bearings, and deck over time. It also produces an uneven cut.
A cone-style blade balancer costs $5–8 and lasts a lifetime. You hang the blade on the cone through its centre hole — if it drops to one side, that side is heavy and needs more material removed. It takes 30 seconds and is one of the best small maintenance habits you can build.
Most pre-packaged kits completely omit this because it doesn't look flashy in the box. But if you're serious about your equipment, it belongs in every fall service kit you build.
How to Cross-Reference Your Engine Model Before You Buy
This step alone will save you more frustration than anything else in this article. The mower brand and the engine brand are often completely different companies, and parts are spec'd to the engine — not the mower chassis.
Find Your Engine Model Number
Look for a sticker or stamped plate on the engine itself — not on the mower deck. It's usually located on the valve cover, the blower housing, or the side of the block. You're looking for:
- Engine brand (Briggs & Stratton, Honda, Kawasaki, Kohler, Toro's own Powermore engines, etc.)
- Engine model number (e.g., Briggs 09P702, Honda GCV160, Kawasaki FJ180D)
- Engine type/code (a longer alphanumeric string that specifies the exact configuration)
Write this down. All of it. The difference between a GCV160 and a GCV190 matters for spark plug fit.
Cross-Reference Spark Plugs and Filters
Once you have the engine model:
-
Go to the manufacturer's website — Briggs & Stratton, Honda Power Equipment, Kawasaki Engines — and use their parts lookup tool with your engine model number. This gives you the exact OEM part numbers.
-
Use a plug cross-reference tool — NGK and Champion both have free online cross-reference tools where you can enter an OEM part number and find the exact equivalent in their range.
-
Check the filter dimensions, not just the part number — For aftermarket filters, confirm the listed length, width, and mounting tab spacing match your OEM spec. A 1mm variation in a filter's sealing surface makes a real difference.
Evaluating Pre-Packaged Kits at Bunnings and Home Depot
When you're standing in the aisle looking at a $45 kit with a picture of a mower on the box, here's the quick check:
Photo by Joel Hägele on Pexels
- Does the kit list specific engine model compatibility, or does it say "fits most X-HP engines"? Fits-most is a red flag.
- Is the spark plug part number printed on the box? If yes, cross-reference it before buying. If no, assume it's generic.
- Is fuel stabilizer included? If not, you're buying it separately anyway — factor that into the price comparison.
- Is a blade balancer included? Almost certainly not. Add $6–8 to your DIY list.
Tondio lets you log your engine model number, oil type, and part numbers directly in your equipment profile — so next fall, you've already done this research once and it's sitting there waiting for you.
Build-Your-Own Kit vs. Pre-Packaged: The Real Cost Breakdown
Let's run the numbers on a typical walk-behind mower with a Briggs & Stratton 09P702 engine — one of the most common powerplants on the market.
Pre-Packaged Kit: $45–60
A typical branded kit from Home Depot or Bunnings at this price point usually includes:
- ✅ Oil (often 600ml of conventional 10W-30)
- ✅ Spark plug (often a Champion CJ8, which is not the right spec for most Briggs OHV engines)
- ✅ Air filter (paper element, may or may not seal correctly)
- ❌ Fuel stabilizer (not included)
- ❌ Blade balancer (not included)
- ❌ Oil drain plug washer (not included — and yes, it should be replaced)
What you're paying for: Convenience, and sometimes a branded box. But if the spark plug is wrong-spec and you still need to buy stabilizer separately, you've paid $45–60 for half a solution.
Build-Your-Own Kit: Under $25
Here's what you can put together for a Briggs 09P702 specifically, sourcing from Amazon, eBay, or your local small engine parts dealer:
| Item | Specific Part | Approx. Cost |
|---|---|---|
| Engine oil (600ml synthetic) | Castrol GTX 10W-30 | $5–7 |
| Spark plug (correct spec) | NGK BPR6ES | $4–6 |
| Air filter (OEM-spec aftermarket) | Stens 100-121 or equiv. | $5–7 |
| Fuel stabilizer (30ml dose) | STA-BIL 360 (buy once, lasts seasons) | $3–4 per use |
| Blade balancer | Magnetic or cone type | $5–8 |
| Oil drain plug washer | Copper washer to spec | $1–2 |
| Total | $23–34 |
What you gain with DIY: Correct-spec parts for your exact engine, better component quality, and a blade balancer you'll use every year. What you give up: The convenience of a single box purchase — and about 20 minutes of upfront research, which you only do once.
If you service your mower every fall for 5 years, your blade balancer cost amortises to about $1–1.60 per season. The stabilizer bottle treats 40+ gallons, so your per-season cost is minimal. The research you do once, log in Tondio, and repeat in under 5 minutes every subsequent year.
When a Pre-Packaged Kit Is Actually Worth It
Be fair about this: there are situations where a kit makes sense.
- Your engine is a Honda GCV series — Honda's own branded service kits (sold through Honda dealers) are spec'd correctly and include quality parts. Worth paying for.
- You're servicing a mower for someone else and don't have their engine details — A kit gives you a starting baseline.
- You're a professional managing multiple units — Buying kits in bulk from a supplier can simplify inventory even if individual component quality isn't perfect.
The key is knowing what you're getting and whether it fits. Never assume the kit is right. Always check the plug and filter spec.
The Fall Mower Service Process: Step-by-Step
Once you've got your kit assembled, this is the sequence that makes the most sense — order matters here.
Before You Start
- Run the mower until it's warm — 10–15 minutes. Warm oil drains fully and carries more contaminants with it. Cold oil pours like honey and leaves behind a significant percentage of the old stuff.
- Disconnect the spark plug lead — before touching the blade. Always.
- Lay down a drop sheet or have cardboard under the mower. This gets messy.
Step 1: Drain and Replace the Oil
- Tip the mower to the dipstick/oil fill side (not the air filter side — you don't want oil flooding the filter housing).
- Drain completely into a container — 500–600ml is typical, though your fill capacity is stamped on the engine or listed in the manual.
- Replace the drain plug washer. Copper washers seal better than aluminium and crush slightly to fill surface imperfections. A $1.50 washer prevents a $40 oil leak.
- Refill to the correct level — not to the top of the fill tube, but to the "FULL" mark on the dipstick. Overfilling causes oil to be pushed into the air intake and burnt, which fouls your new spark plug immediately.
Step 2: Replace the Spark Plug
- Use a plug socket (usually 5/8" or 13/16") and remove the old plug.
- Check the old plug's condition before binning it — a tan/light grey electrode indicates healthy combustion. Black and sooty means rich running or oil contamination. White/blistered means lean running or the wrong heat range plug.
- Gap the new plug to spec (typically 0.76mm / 0.030") and install hand-tight, then torque to 15–22 Nm (11–16 ft-lb). Without a torque wrench, that's snug plus a quarter-turn past hand-tight.
Step 3: Replace the Air Filter
- Remove the filter housing cover and take note of how the filter seats — photograph it if you need to.
- Check the housing itself for debris and wipe clean.
- Install the new filter, confirming the sealing surface sits flush all the way around. No gaps.
- If your engine uses a dual-element setup (paper inner + foam outer), replace both.
Step 4: Add Fuel Stabilizer and Run the Engine
- Add stabilizer to whatever fuel remains in the tank at the correct dose rate.
- Start the mower and let it run for 10 full minutes — this circulates stabilized fuel through the carburettor, protecting the float bowl, needle valve, and jets during storage.
- Alternatively, once the stabilizer has run through, you can drain the fuel completely. On ethanol-blend petrol, draining is actually the better option for storage beyond 90 days.
Step 5: Sharpen and Balance the Blade
- With the plug lead disconnected, tip the mower back and secure it.
- Remove the blade (note the orientation — there's a right way up), sharpen with a file or bench grinder to restore the cutting edge bevel, then check balance on your cone balancer.
- Remove material from the heavy side only — never add weight to the light side. A few passes with a file on the heavy end's back face is usually enough.
- Reinstall the blade to the manufacturer's torque spec — typically 50–60 Nm (37–44 ft-lb) for most walk-behind mowers. This is one that matters. A blade that comes off at 3,000 RPM is not a situation you want.
Step 6: Clean and Store
- Scrape the underside of the deck clean of compacted grass. Moisture trapped in caked grass accelerates deck corrosion significantly.
- Wipe down the engine exterior, check the oil level one final time, and store in a dry location off concrete if possible (concrete holds moisture).
Pro tip: Use Tondio to set a spring startup reminder now — before you put the mower away. It's the one thing you'll forget to do in October and wish you'd done when you're standing over a cold mower in September wondering what you serviced last year.
Fall Mower Maintenance Checklist
Use this before you close the shed door for winter:
- Ran mower warm before servicing
- Disconnected spark plug lead before any underside work
- Drained old oil while warm
- Replaced drain plug washer
- Refilled with correct-spec oil to proper level (not overfilled)
- Installed correct-spec spark plug, gapped to 0.76mm (0.030")
- Replaced air filter — confirmed flush seating, no gaps
- Added fuel stabilizer at correct dose rate and ran engine 10 minutes (or drained fuel completely)
- Sharpened blade and confirmed balance with blade balancer
- Reinstalled blade to torque spec (~50–60 Nm)
- Cleaned underside of mower deck
- Logged service date, parts used, and engine hours in Tondio
- Set spring startup reminder
The Bottom Line
A $45 kit that includes the wrong spark plug isn't a deal — it's a $45 mistake waiting to happen. The difference between a proper fall service and a rushed one shows up six months later when you're either pulling a perfectly-starting mower out for the first spring cut, or tearing apart a gummed-up carburettor wondering why you didn't take 30 minutes in October.
Build your own kit. Spend $23–34 on correctly-specced parts you've cross-referenced to your actual engine. Add a blade balancer if you don't have one — you'll use it every year. Buy a bottle of STA-BIL once and it'll last you four to five seasons. The upfront research takes one Google search and a look at your engine plate.
Log everything — the parts you used, the engine hours, the date — in Tondio so next fall it takes you five minutes instead of thirty. That's the difference between maintenance being a chore and being a system.
Your mower works hard for five to six months. Give it thirty minutes at the end of the season. It'll repay you for years.