Lawn Mower Maintenance Ramps: Do You Actually Need Them and Which Type Works Best for Fall Blade Work
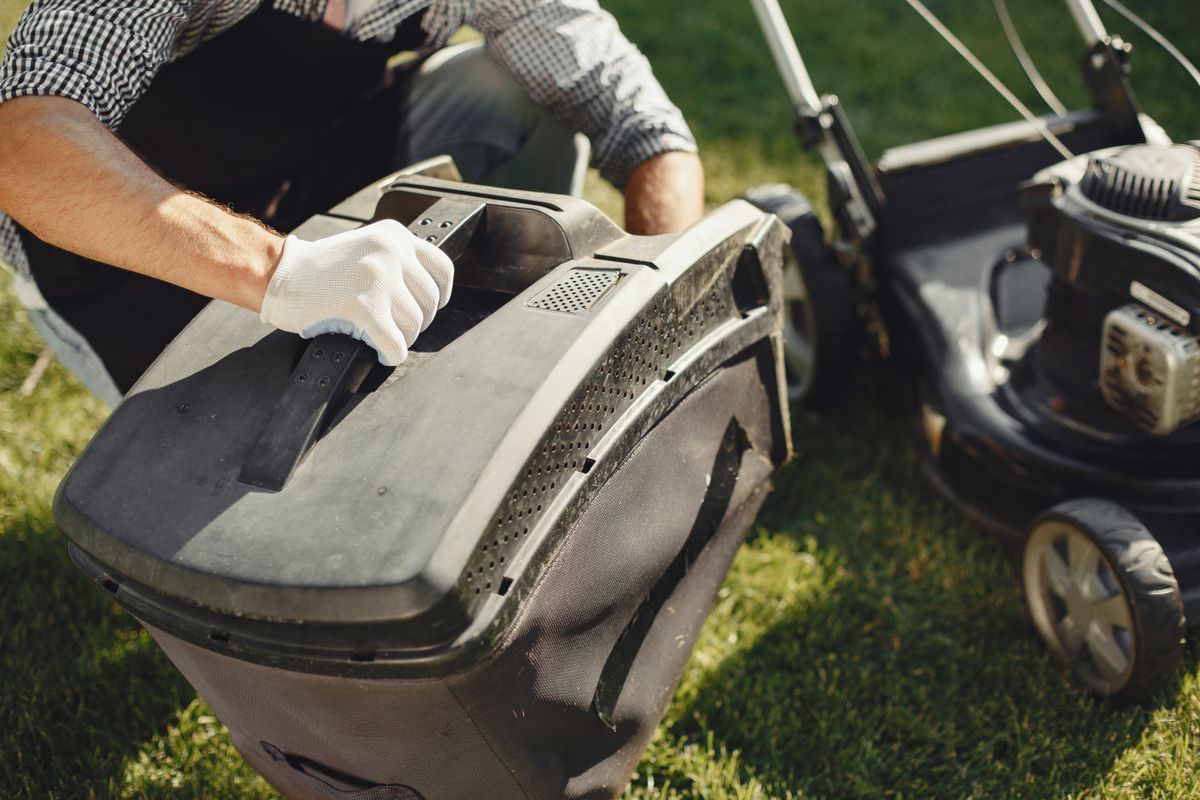
Photo by Gustavo Fring on Pexels
By Tondio Team · AI-generated content
Drive-up ramps, mower lifts, or jack stands? Find out which lawn mower maintenance ramp is safest for fall blade work and winter storage prep.
Lawn Mower Maintenance Ramps: Do You Actually Need Them and Which Type Works Best for Fall Blade Work
Every fall, thousands of homeowners flip their mower sideways, prop it up with a cinder block, or just skip blade maintenance entirely — and every single one of those choices is either dangerous, damaging, or going to cost them come spring.
If you're getting serious about fall lawn care prep, how you lift your mower matters just as much as what you do once it's up. Sharpening dull blades, scraping the deck, and draining old oil before winter storage are non-negotiable tasks for a healthy lawn next season — but you can't do any of them safely if your mower is wobbling on a paint can. That's exactly why maintenance ramps exist, and exactly why most guides completely ignore them.
This post breaks down the three main lifting options, which one is right for your mower type, and how to use them safely so you can knock out your fall maintenance without a trip to the ER or a bent crankshaft.
Do You Actually Need Dedicated Mower Ramps?
Short answer: yes, if you're doing any undercarriage work at all.
Here's the problem with improvised lifting. A typical walk-behind mower weighs between 60 and 110 pounds. A residential zero-turn or riding mower can weigh anywhere from 400 to over 1,000 pounds. When you're getting underneath that machine — even just to reach the blade bolt — you need it stable, level, and locked. A mower that shifts even 2 inches while your hand is near the blade can cause a serious laceration.
Beyond safety, proper lifting protects your mower. Tilting a gas-powered mower the wrong direction floods oil into the air filter. Propping it unevenly stresses the frame. And if you're draining oil or scraping compacted grass clippings from the deck, you need clearance and stability — not a jerry-rigged setup that collapses when you put pressure on it.
The good news: dedicated mower lifting equipment is not expensive. You're looking at $30 to $200 depending on the type, and it's a one-time buy that pays for itself the first time it keeps you from damaging a $400 blade assembly.
Pro Tip: Before buying any lift, check your mower's manual for the manufacturer-recommended lifting points. Using the wrong contact points — even on a quality ramp — can crack the deck or damage the frame.
The Three Main Options: A Head-to-Head Breakdown
Option 1: Plastic Drive-Up Ramps
These are the low-profile wedge-shaped ramps you drive your mower onto, leaving the front wheels elevated so you can access the blade from the front. They're the most common entry-level solution and the first thing most people buy.
How they work: You position one ramp under each front wheel (for walk-behinds) or all four corners (for riding mowers), then drive or push the mower up the incline. The mower stays in that elevated position while you work underneath.
The good:
- Cheapest option — sets start around $30 to $50
- Easy to store (they stack flat)
- No mechanical skill required
- Wide availability at hardware and farm supply stores
The bad:
- Most plastic ramps have a weight limit of 300 to 500 pounds — fine for walk-behinds, borderline for light riding mowers, and completely inadequate for heavy zero-turns
- They only elevate the front or rear, not both ends simultaneously, which limits your access
- On smooth concrete, they can slide forward when you apply torque to a stuck blade bolt — this is the most common accident with this setup
- You only get 3 to 5 inches of clearance, which isn't always enough for deck scraping or oil drain access
Best for: Walk-behind mowers under 100 lbs, quick blade inspections, homeowners doing seasonal maintenance on a budget.
Mistake to avoid: Don't use automotive drive-up ramps for your mower. They're designed for car tire width and often have curved approach angles that cause smaller mower wheels to slip off the side.
Pro Tip: If you go with plastic drive-up ramps, place a rubber mat or grip tape on the ramp surface. This costs about $5 and dramatically reduces the risk of wheel slip when driving the mower up.
Option 2: Dedicated Mower Lift Ramps (Mower-Specific Lifts)
This is the category purpose-built for exactly what you're doing. Mower-specific lift ramps — sometimes called mower service ramps or mower lift platforms — are designed with the dimensions, weight ratings, and safety features that walk-behinds and riding mowers actually need.
The most popular designs include:
- Scissor-style hydraulic lifts — you drive the mower on and crank or pump the platform up to working height. Lifts can raise a riding mower 12 to 18 inches off the ground, giving you full clearance for blade work, deck cleaning, and oil draining.
- Folding ramp platforms — similar to drive-up ramps but with wider lanes, integrated wheel chocks, and higher weight ratings (typically 600 to 1,500 lbs)
- Single-side mower jacks — a lever-operated lift that raises one side of a walk-behind mower so you can access the blade without tilting the whole machine
The good:
- Weight capacities up to 1,500 lbs on quality models — safe for nearly any residential riding mower
- Integrated wheel chocks and locking mechanisms keep the mower stationary when you're torquing blade bolts
- Full-deck access makes it easier to scrape 6 months of caked-on clippings before winter storage
- Hydraulic models eliminate physical strain from jacking
The bad:
- Price range is $80 to $250 for most models; hydraulic lifts can hit $400+
- Heavier and harder to store than simple ramps
- Some folding platforms require a minimum 8-foot approach path to drive the mower on safely
Best for: Riding mowers, zero-turns, homeowners who do their own seasonal maintenance every year, and anyone who wants a legitimate workshop-quality setup in their garage.
Pro Tip: When shopping for a mower-specific lift, look for models with a minimum 1,000 lb capacity even if your mower weighs 600 lbs. That safety margin matters, especially when you're adding your own body weight or the weight of tools leaning against the machine.
Option 3: Floor Jack + Jack Stands
This is the automotive method applied to mower maintenance, and when done correctly, it's actually one of the most stable setups you can use — especially for heavier riding mowers.
How it works: You use a floor jack (typically a 2-ton or 3-ton hydraulic trolley jack) to lift the mower at a designated lift point, then slide jack stands underneath the frame to hold it securely at height. You never work under a machine that's only supported by the jack itself.
The good:
- Maximum adjustability — you can raise the mower to exactly the height you need (anywhere from 6 to 18 inches)
- Jack stands rated at 2 tons (4,000 lbs) provide an enormous safety margin for any residential mower
- This setup is rock-solid when done correctly — zero wobble, no sliding
- You likely already own a floor jack if you do any automotive work
- Allows you to access all four sides of the mower at different heights
The bad:
- Requires knowing your mower's lift points — using the wrong contact point can crack a plastic deck in seconds
- A 2-ton floor jack alone weighs 25 to 40 lbs and isn't quick to set up
- Highest risk of user error out of the three options — incorrect positioning is genuinely dangerous
- Not practical if you're working alone on a large riding mower without help spotting
Best for: Experienced DIYers, heavier riding mowers and zero-turns over 700 lbs, anyone doing more intensive undercarriage work like spindle replacement or belt inspection alongside blade sharpening.
Mistake to avoid: Never use a scissor jack (the kind that comes with your car for flat tires) under a mower. They're unstable on uneven surfaces, have a narrow base, and are not designed for side-loading — exactly what happens when you're pulling on a blade bolt.
Pro Tip: Always place jack stands on solid, level concrete. A 1-degree slope in your garage floor is enough to cause a loaded jack stand to creep over 20 minutes. Use a level to check before you commit to the lift.
Riding Mowers vs. Walk-Behinds: Which Lift Do You Need?
This is where most buyers make the wrong call — they buy for the task (blade sharpening) instead of the machine (their specific mower type and weight).
Walk-Behind Mowers (60–110 lbs)
Walk-behind mowers are small enough that all three options work, but not all of them work equally well.
- Plastic drive-up ramps are the most practical here — fast to set up, adequate clearance for blade access, and well within weight limits
- Single-side mower jacks (a mower-specific lift subtype) are arguably the best option for walk-behinds because they tip the mower to exactly the right angle without tilting it backward, which risks an oil leak into the air filter
- Floor jacks + stands work but are overkill for most walk-behind maintenance
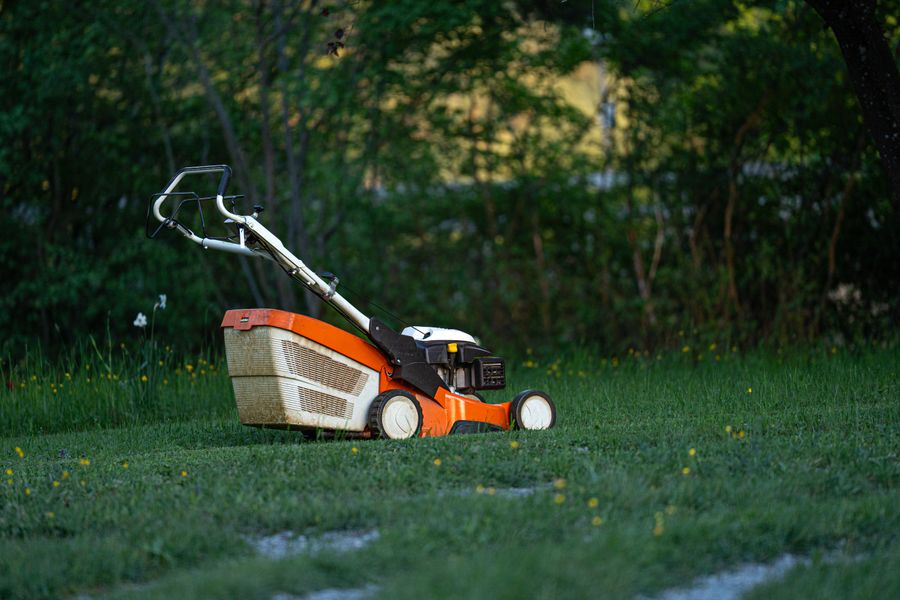
Photo by Joel Hägele on Pexels
Key rule for walk-behinds: When you tilt the mower to access the blade, always tilt it so the air filter and carburetor face upward, not downward. Tilting the wrong way sends oil pooling into the air filter and can hydrolock your engine when you start it up in spring. This is the single most common — and most damaging — mistake beginners make.
Riding Mowers and Zero-Turns (400–1,100 lbs)
This is where it gets serious. Plastic drive-up ramps rated under 500 lbs are not safe for most riding mowers. Period.
For riding mowers, you want:
- A dedicated mower lift platform with a 1,000+ lb capacity, or
- A floor jack (2-ton minimum) with 3-ton jack stands positioned at the manufacturer's lift points
Zero-turns present a unique challenge because their wide stance and low-hanging decks make standard ramp approaches awkward. Many zero-turn owners use two independent ramp sets — one under each drive wheel — combined with wheel chocks on the flat sections.
Weight capacity quick-reference:
| Mower Type | Typical Weight | Minimum Ramp Capacity |
|---|---|---|
| Push walk-behind | 60–80 lbs | 300 lbs |
| Self-propelled walk-behind | 80–110 lbs | 300 lbs |
| Riding mower (small) | 400–600 lbs | 800 lbs |
| Riding mower (mid-size) | 600–800 lbs | 1,000 lbs |
| Zero-turn (residential) | 700–1,100 lbs | 1,500 lbs |
Pro Tip: Look for the mower's weight on the spec sheet in your owner's manual — not on the product listing page, which sometimes reflects base model weight without the deck. Always size up by at least 25% above your actual mower weight when choosing a lift capacity.
How to Safely Position and Lock Your Mower for Fall Maintenance
Getting the mower up is only half the job. Here's how to do it right so you can work safely through blade removal, deck scraping, and oil draining.
Step 1: Prep the Mower Before Lifting
- Remove the spark plug wire. This is non-negotiable. A mower engine that accidentally fires while your hand is near the blade can cause catastrophic injury. Pull the wire off the spark plug and tuck it away from the plug before you do anything else.
- Run the mower for 2 to 3 minutes beforehand if you plan to drain the oil — warm oil flows out completely. Cold oil leaves thick residue behind.
- Check your fuel level. If you're draining fuel for winter storage, do that before lifting so you're not working around a full tank at a tipped angle.
Step 2: Position on the Ramp or Lift
- For drive-up ramps, approach slowly and straight. Misalignment by even 3 to 4 inches can put a wheel half-off the ramp edge.
- For mower-specific platforms, engage the wheel chocks as soon as all wheels are in position — don't wait until you've walked to the front of the mower.
- For floor jacks, locate the lift point in your manual (usually a reinforced frame rail), place the jack saddle squarely, and raise slowly. Have a second person present when lifting anything over 500 lbs.
Step 3: Lock It Down
This step is what most people skip — and it's the most important one.
- Engage the parking brake on riding mowers. Always.
- Use wheel chocks behind at least two wheels, even on ramps that have built-in chocks. A $10 set of rubber chocks is cheap insurance.
- On jack stands, make sure the stand is fully seated in its rated notch — never balance a load on a half-extended stand between positions.
- Gently push the mower before committing your body underneath or beside it. If it moves even slightly, stop and re-secure it.
Step 4: The Fall Maintenance Sequence
Once you're safely lifted and locked, here's the order that makes the most sense:
- Drain the oil (if the engine is still warm, it flows in 3–5 minutes)
- Remove and inspect the blade — look for cracks, bends, or chips over ⅛ inch deep
- Sharpen or replace the blade — a properly sharpened blade should hold an edge similar to a butter knife, not a razor, at roughly a 30 to 35-degree bevel angle
- Scrape the deck while you have full clearance — use a plastic scraper first, then a wire brush. Caked clippings trap moisture and cause rust over a 4-to-5-month winter
- Reinstall the blade torqued to spec (typically 35 to 50 ft-lbs for most residential mowers — check your manual)
- Reconnect the spark plug wire as the very last step before lowering
Pro Tip: Take a photo of your blade orientation before removal — specifically which side faces down. Reinstalling a blade upside down is a shockingly common mistake that results in a mower that spins but doesn't cut. Tondio lets you attach photos directly to your maintenance log entries, so you always have a reference shot waiting for you next season.
Fall Pre-Storage Checklist: Ramp-Ready Maintenance
Use this before putting your mower away for winter:
- Spark plug wire removed before any lifting
- Ramp/lift capacity confirmed to exceed mower weight by at least 25%
- Mower positioned straight and centered on ramp or platform
- Parking brake engaged
- Wheel chocks placed behind at least two wheels
- Stability tested before working around undercarriage
- Warm oil drained completely
- Blade removed, inspected, sharpened or replaced
- Deck scraped and brushed clean
- Blade reinstalled at correct torque and correct orientation
- Spark plug inspected — replace if electrode gap exceeds 0.030 inches on most 4-stroke engines
- Fuel stabilizer added (or fuel drained) for storage
- Air filter cleaned or replaced
- Spark plug wire reconnected as final step
Tondio makes it easy to set a recurring fall maintenance reminder so this checklist shows up on your phone right when the grass stops actively growing in your area — typically when overnight temps drop consistently below 50°F. No more realizing in February that you forgot to drain the oil last October.
Common Mistakes to Avoid (Seriously, Don't Do These)
- Using cinder blocks or bricks as lift supports. They crack under lateral stress — exactly the kind of stress a stuck blade bolt creates.
- Working under a mower supported only by a floor jack. Hydraulic jacks can fail. Jack stands exist for this reason.
- Buying ramps rated exactly at your mower's weight. Weight ratings are maximums under ideal conditions. Always buy above your actual need.
- Forgetting the spark plug wire. Worth saying twice.
- Tilting a walk-behind backward to access the blade — this puts the carburetor and air filter at the lowest point and invites oil contamination.
- Skipping the deck scrape. Compacted clippings hold 6–8x their weight in moisture. Leave them over winter and you'll be dealing with rust patches in the deck by March.
Which Ramp Type Should You Actually Buy?
Here's the straight answer based on your situation:
Buy plastic drive-up ramps if: You have a walk-behind mower under 100 lbs, you're on a tight budget, and you're doing basic seasonal maintenance. Spend $35 to $50, get rubber grip surface, and you're set.
Buy a dedicated mower lift platform if: You have a riding mower, you do your own maintenance every season, and you want a legitimate, stable setup without the learning curve of jack stands. This is the best all-around choice for most homeowners — budget $100 to $200 for a quality model.
Use a floor jack + jack stands if: You have a heavy riding mower or zero-turn over 700 lbs, you're already comfortable with automotive lift techniques, and you want maximum adjustability and stability. Budget $80 to $150 if you don't already own the equipment.
Conclusion: Stop Improvising, Start Lifting Right
Fall maintenance is too important — and too easy to get right — to skip because you don't have the right lift setup. One season of blades left dull, a deck left packed with clippings, or oil left sitting through winter can cost you $200 to $500 in repairs or premature equipment replacement. A proper mower lift costs a fraction of that and lasts for years.
Pick the option that matches your mower's weight, buy above your weight limit, and follow the safety steps above every single time. The 15 minutes it takes to set up properly is nothing compared to what a mower that shifts on a ramp can do to your hand.
And once you've wrapped up your fall maintenance, log everything — oil change, blade condition, deck photos — in Tondio so you walk into spring with a complete service history and zero guesswork. You can even set your next blade sharpening reminder based on your typical mowing hours, so your equipment stays ahead of the wear instead of behind it.
Your lawn worked hard all season. Return the favor before you put it to bed.
Looking for more fall prep guidance? Check out our guides on winterizing your irrigation system and the best timing for your final fall fertilizer application.