Why Is My Lawn Bumpy After Summer and How to Level It Before Fall Seeding
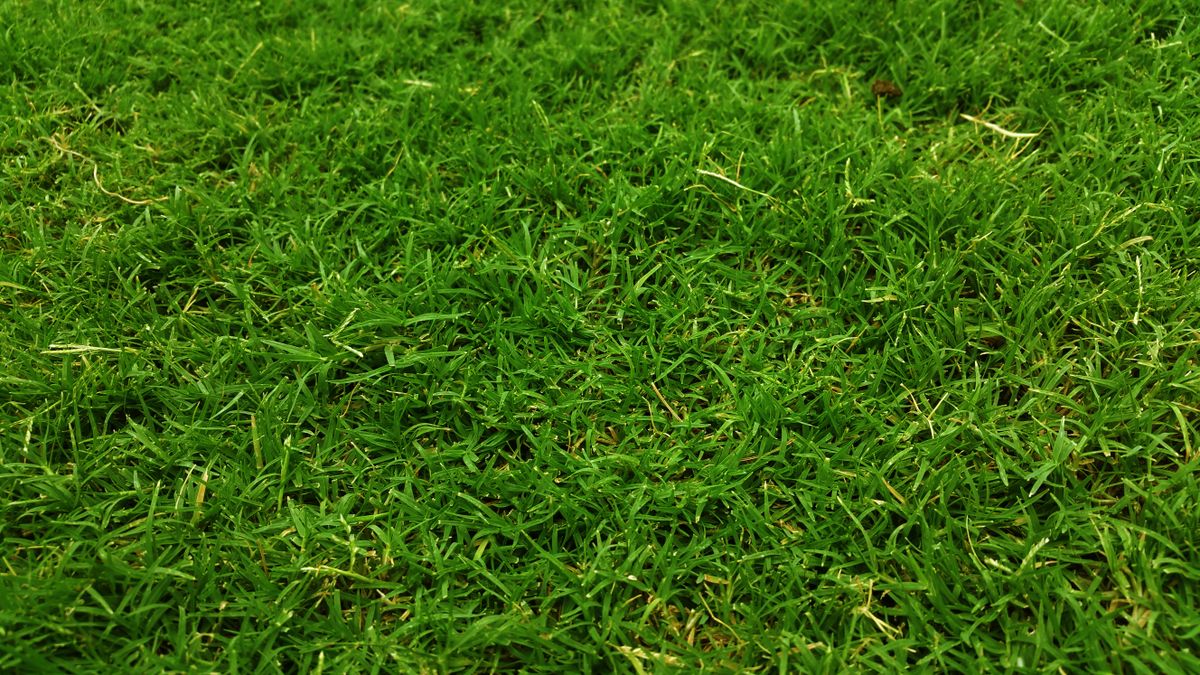
Photo by Digital Buggu on Pexels
By Tondio Team · AI-generated content
Learn why summer creates bumpy lawns and how to level and overseed before winter in one perfectly timed process. Step-by-step guide for fall success.
Why Is My Lawn Bumpy After Summer and How to Level It Before Fall Seeding
That rolling, uneven surface under your feet isn't just annoying — it's your lawn telling you exactly what it went through this summer, and it's demanding you do something about it before the season closes.
Here's what most homeowners miss: the window between late August and mid-September is the single best opportunity of the entire year to level your lawn and overseed it simultaneously. Wait too long and the ground gets too cold for seed germination. Do it too early and summer heat stress undermines your results. But hit that window right, and you can fix a year's worth of surface damage and lay down a thick stand of new grass before the first frost — all in one coordinated effort.
This guide breaks down exactly why your lawn gets bumpy after summer, how to diagnose what kind of bumps you're dealing with, and how to execute a leveling plan that sets up your fall overseeding for maximum success.
Why Does Summer Make Your Lawn Bumpy?
Your lawn surface isn't static. It heaves, contracts, and shifts in response to heat, moisture, biological activity, and traffic — and summer throws all of those forces at it simultaneously. Before you grab a bag of topdressing mix, you need to understand what created your bumps, because the fix depends entirely on the cause.
Soil Contraction from Summer Drought
When soil dries out, it contracts. Clay-heavy soils especially will shrink and crack under prolonged heat stress, pulling the surface down in some areas while leaving adjacent soil elevated. If you had any dry spells this summer — even with irrigation — soil contraction is almost certainly contributing to your uneven surface.
This type of settling tends to create gradual, broad depressions rather than sharp bumps. Think of it like a dried-out sponge — the whole surface pulls inward unevenly depending on shade, soil composition, and irrigation coverage.
Ground Bee Nests
Solitary ground-nesting bees — including digger bees and mining bees — are active in late spring through summer, and they leave behind soil mounds that can range from 1–4 inches high. A single colony can generate dozens of these mounds across a 10–20 square foot area, creating an unmistakably pockmarked surface.
The good news: these bees are almost entirely harmless and are actually beneficial pollinators. The bad news: their nesting activity churns up soil and leaves you with a surface that looks like it lost a fight with a badger.
Earthworm Castings
Earthworms are your lawn's best friend for soil health, but heavy casting activity — especially after late-summer rain events — leaves small, dense mounds of expelled soil on the surface. Individual castings are small, but in high-population soils, they can accumulate into a noticeably rough texture across large areas. This is actually a sign of a biologically healthy lawn, but it still needs to be addressed before seeding.
Freeze-Thaw Cycles from Irrigation
Here's one most people don't think about: if you're running irrigation late in the evening in late summer when nighttime temperatures are already dipping into the low 40s°F, you can trigger micro freeze-thaw cycles in the upper inch of soil. Water expands approximately 9% in volume when it freezes, and that repeated expansion and contraction at the soil surface heaves roots and soil particles upward unevenly over time.
This is a subtler cause, but if you irrigate into September and your nights are cold, it's worth knowing.
Traffic, Compaction, and Settling
Heavy summer foot traffic — lawn games, kids, dogs, outdoor entertaining — compacts high-traffic paths while leaving adjacent areas uncompacted. Over months, this creates an undulating surface of compressed troughs and untouched peaks.
Surface Bumps vs. Subsurface Problems: Don't Skip This Diagnosis Step
This is the most important step most people skip, and it's where leveling efforts go wrong. Not all bumps are created equal. Some are surface-level soil irregularities that topdressing can fix in an afternoon. Others are symptoms of subsurface problems that need to be addressed first — or topdressing just buries the problem and it comes right back.
How to Tell the Difference
Walk your lawn slowly in the morning when the grass is slightly wet — moisture makes surface irregularities far more visible. Then get on your hands and knees and press firmly on each major bump. Here's what you're assessing:
- Bump feels soft and gives under pressure → Likely a surface-level issue: earthworm castings, bee mounds, or soil heaving. Safe to level directly.
- Bump is firm but the turf pulls away from soil easily → Possible thatch buildup lifting the crown. Core aerate before leveling.
- Bump is hard and does not compress at all → Possible buried debris — old tree roots, construction rubble, buried wood. You need to excavate, not topdress.
- Bump runs in a linear pattern, 2–4 inches wide → Classic vole run. These tunnels collapse and heave turf as animals travel just below the surface.
- Soft, spongy depression that holds water → May indicate a drainage or irrigation leak issue. Fix the underlying cause before you level anything.
Diagnosing Vole Runs
Vole damage is increasingly common and frequently misidentified. Voles create shallow runway tunnels just under the turf surface, typically 1.5–2 inches deep. When the tunnel collapses or the vole is no longer using it, the turf above settles unevenly, creating irregular ridges and furrows.
To confirm: Part the grass along a suspicious ridge line. If you see a clean, narrow channel in the soil running a consistent width beneath the turf, you've got vole damage. Before leveling, press the runs flat, apply a deterrent, and monitor for two weeks to make sure activity has ceased. Filling active runs is pointless.
Pro Tip: Use Tondio to snap and date photos of suspect bumps before and after diagnosis. When you're dealing with recurring problems like vole activity or ground bee nests, that photo history across multiple seasons tells you exactly where your problem zones are — and which ones come back every year.
The Topdressing Method vs. The Core Aeration and Fill Method
Once you've confirmed your bumps are surface-level and there are no subsurface problems lurking, you have two primary leveling approaches. Choosing the wrong one wastes time and money. Here's how to pick correctly.
The Topdressing Method
Best for: Minor surface irregularities — earthworm castings, shallow depressions under ½ inch deep, general surface roughness across a large area.
Topdressing involves spreading a thin layer of a sand-compost mix across the surface and working it down into the turf with a drag mat, lawn leveler, or the back of a rake. The fill material settles into low spots and brings the surface up without smothering existing grass.
The critical rule: never apply more than ¼ to ½ inch of topdressing in a single pass. Applying more than that smothers grass crowns, blocks light, and causes die-off in your existing turf — exactly the opposite of what you're trying to achieve heading into overseeding season.
Recommended mix: 70% coarse sand / 30% compost. Pure sand is too dense and can actually create a drainage barrier if applied over clay soil. Pure compost is too light and doesn't provide the structural leveling you need. The blend gives you both stability and organic matter for seed germination.
How to execute topdressing:
- Mow your lawn to 1.5–2 inches — shorter than your normal mowing height so material can reach the soil surface.
- Rake or blow debris off the surface.
- Spread topdressing mix at a rate of approximately 0.5 cubic yards per 1,000 sq ft for a ¼-inch application.
- Use a leveling lute, drag mat, or the back of a landscape rake to work the material into the turf.
- Water lightly to help the material settle.

Photo by Pascal Küffer on Pexels
Pro Tip: Tondio has a built-in coverage calculator — plug in your lawn's square footage and it'll tell you exactly how many bags or cubic yards of topdressing material you need. No guessing, no over-ordering.
The Core Aeration and Fill Method
Best for: Compacted soils, bumps deeper than ½ inch, areas with thatch buildup, or any situation where the soil needs to be broken up before leveling material can work its way down.
Core aeration pulls plugs of soil 2–4 inches deep, creating channels that allow leveling material to penetrate far below the surface. When you apply topdressing immediately after aerating, the sand-compost mix falls directly into those cores and addresses subsurface compaction and irregular settling — not just the surface.
This is the method you want for most lawns that have gone through a full summer of heat, traffic, and drought stress. Aeration alone improves the situation. Aeration plus fill dramatically accelerates leveling.
How to execute core aeration and fill:
- Mow to 1.5–2 inches.
- Core aerate across the entire lawn. For heavily compacted areas or bumps larger than 1 inch, make two passes at perpendicular angles.
- Do not rake up the plugs. Leave them on the surface — they'll break down within 2–3 weeks and contribute organic matter back to the soil.
- Apply your topdressing mix at 0.5–1 cubic yard per 1,000 sq ft. You can go slightly heavier here because the aeration cores provide pathways for the material to move downward without suffocating grass crowns.
- Drag or rake the material across the surface, working it into the aeration holes.
- Water thoroughly — at least ½ inch — to help the material settle into the cores.
For bumps deeper than 1 inch: Use a hand tamper or flat spade to press them down before aerating. If a bump won't compress, you're likely dealing with buried debris — investigate before proceeding.
Common Mistake: Running a core aerator over bone-dry, rock-hard soil. Aeration tines need to penetrate at least 2–3 inches to be effective. If you haven't had rain, irrigate 24–48 hours before aerating to soften the soil.
Timing Your Leveling to Fall Overseeding (This Is Where It All Comes Together)
Here's the part that most tutorials completely ignore, and it's arguably the most important piece: the order and timing of leveling relative to overseeding determines whether your new seed thrives or fails.
The Ideal Sequence and Timeline
Fall overseeding for cool-season grasses (fescue, bluegrass, ryegrass) requires soil temperatures between 50–65°F for reliable germination. Most of the northern US and transition zone hits this window in mid-August through mid-October, depending on your location. Warm-season grasses (Bermuda, zoysia) generally should not be overseeded in fall — focus on leveling only.
Here's the exact sequence:
Week 1: Assess and Level
- Walk the lawn, diagnose bumps, rule out subsurface problems.
- Core aerate (if needed), apply topdressing, drag level.
- Mow at 1.5–2 inches before starting.
Week 1, Same Day or Next Day: Overseed
- Seed immediately after leveling. The disturbed soil surface and fresh topdressing material create ideal seed-to-soil contact. This is the exact environment seeds want.
- Apply seed at the correct rate: 4–6 lbs per 1,000 sq ft for overseeding (not bare-ground seeding, which requires more).
- For pure topdressing areas, use a slit seeder or broadcast spreader and rake lightly to ensure seed contacts the topdressing material.
- For aerated areas, seed goes directly into and over the aeration holes — they act as perfect seed pockets.
Weeks 2–3: Germination
- Keep the top ½ inch of soil consistently moist with light, frequent irrigation — 2–3 times per day if needed, 5–10 minutes per zone.
- Most cool-season grasses germinate in 7–21 days at optimal temperatures.
- Do not mow until new seedlings reach 3–3.5 inches.
Week 4–6: Establishment
- Begin transitioning to deeper, less frequent watering: ½ inch, 2–3 times per week.
- Apply a starter fertilizer at seeding with an NPK ratio of approximately 18-24-12 or similar high-phosphorus blend. Phosphorus drives root development in new seedlings.
- Avoid high-nitrogen fertilizers at seeding — they push top growth at the expense of root establishment.
Why Timing This Together Works
The leveling process creates the optimal seed bed. Topdressing adds the fine-textured material seeds need to make contact with soil. Aeration creates pockets that protect seeds from washout and drying. If you level in week one and seed in week three, you've let that disturbed, receptive surface crust over and lose its advantage.
Seed within 24–48 hours of leveling for best results.
Common Mistake: Applying pre-emergent herbicide within 60–90 days of overseeding. Pre-emergents prevent germination of all seeds — including the ones you're trying to establish. Check your application history before overseeding. If you put down a spring pre-emergent, confirm it's been at least 12–16 weeks before you seed.
Pro Tip: Tondio lets you set task reminders tied to your specific location and lawn calendar. Set a reminder for your leveling day and a second one for seeding the next morning — so the timing stays tight even when life gets busy. You can also log your fertilizer and pre-emergent application dates so you're never guessing about herbicide windows.
Your Fall Lawn Leveling Action Plan
Use this checklist to execute the full process from diagnosis to establishment:
Diagnosis (1–2 Weeks Before)
- Walk the lawn and mark all bumpy areas with flags or chalk spray
- Press-test each bump — soft, firm, or immovable?
- Check for vole runs, buried debris, or drainage issues
- Confirm soil temperatures are between 50–65°F (use a soil thermometer 2 inches deep)
- Check irrigation schedule — stop evening watering if nighttime temps are below 45°F
Preparation (Day Before)
- Irrigate if soil is dry — you need moisture for aeration to be effective
- Order topdressing material (70% coarse sand / 30% compost)
- Calculate coverage: Tondio coverage tool or manual math — 0.5 cu yd per 1,000 sq ft per ¼ inch
- Mow lawn to 1.5–2 inches
Leveling Day
- Core aerate (one or two passes depending on compaction level)
- Leave plugs on the surface
- Apply topdressing mix and drag level
- Focus extra material on low spots and depressions
- Hand-tamp any large individual bumps first
Seeding (Same Day or Within 24 Hours)
- Broadcast seed at 4–6 lbs per 1,000 sq ft
- Rake lightly to ensure seed-to-material contact
- Apply starter fertilizer (high phosphorus — look for 18-24-12 or similar)
- Water lightly — ¼ inch to settle seed
Germination Phase (Weeks 2–3)
- Irrigate lightly 2–3x daily to keep surface moist
- Stay off the lawn as much as possible
- Monitor germination — expect 7–21 days for cool-season species
Establishment Phase (Weeks 4–6)
- Mow when new grass reaches 3–3.5 inches (raise deck to 3 inches)
- Transition to deep, infrequent watering
- Optional: light second application of starter fertilizer at week 4
Don't Let Summer Damage Roll Into Next Year
Bumpy lawns don't fix themselves over winter. They go dormant bumpy and wake up bumpy — and the cycle of uneven surfaces, scalping mower decks, and thin turf in low spots continues to compound season after season.
Late August through mid-September is your window. It's short, it's specific, and most homeowners blow right past it without realizing that leveling and overseeding aren't two separate fall projects — they're one integrated process that works better when done together.
Diagnose your bumps before you fix them. Choose the right method for what you're actually dealing with. Time your seeding within 24–48 hours of leveling. And use the cooler nights and moderate temperatures of early fall to let new grass establish deep roots before the ground freezes.
If you want to track every step — soil temps, product applications, irrigation timing, and germination progress — Tondio keeps all of it in one place so nothing slips through the cracks. Because a lawn this well-planned deserves documentation to match.
Go level it. Your fall lawn depends on the work you do right now.