How to build a spring lawn care schedule that actually prevents problems instead of treating them
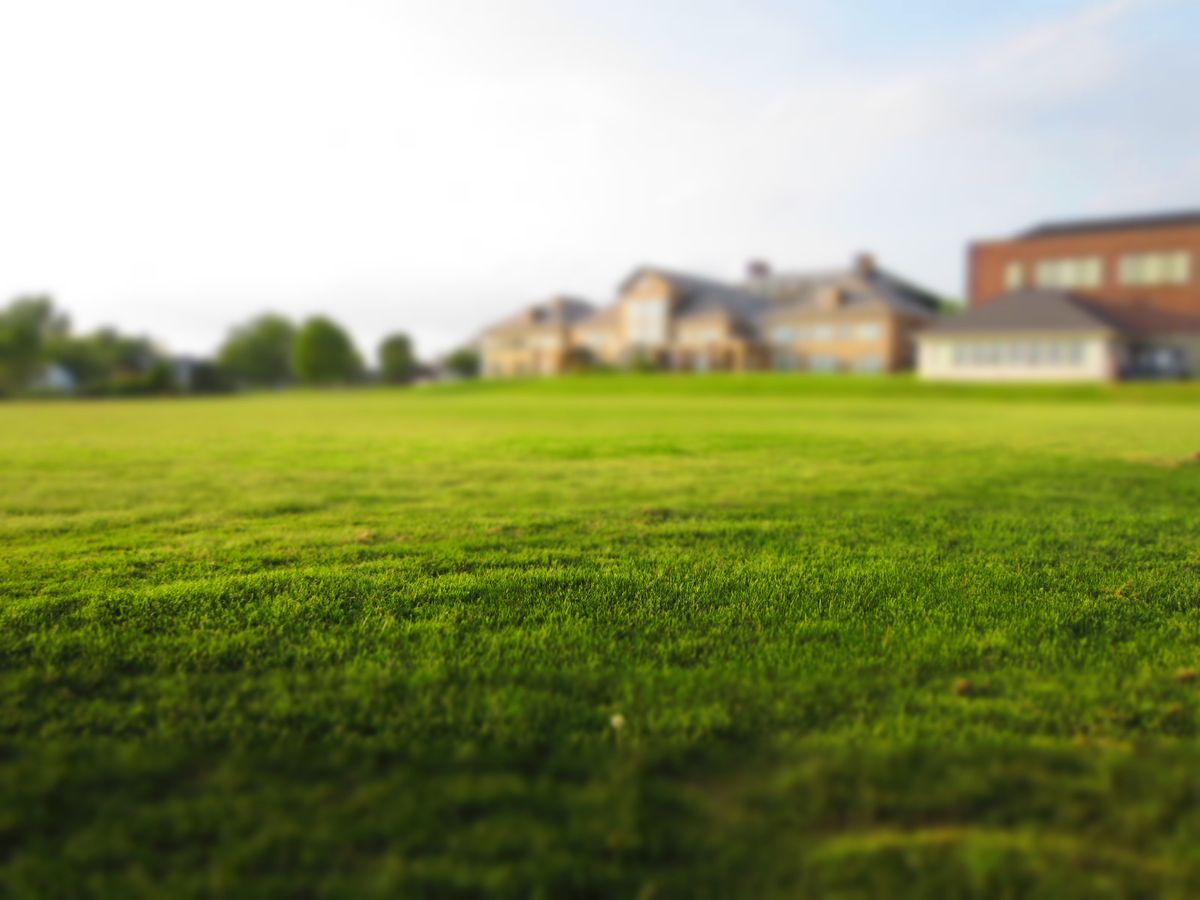
Photo by Free Nature Stock on Pexels
By Tondio Team · AI-generated content
Stop reacting to spring lawn problems. This reverse-engineered planning guide shows you the late-winter actions that prevent thin spots, weeds, and disease.
Your neighbors will scramble in April to fix crabgrass. You'll be finished preventing it in February.
The difference between amateur lawn care and professional results isn't the products you use—it's when you use them. Most homeowners react to problems when they see them: weeds popping up in May, brown patches in June, thin spots in July. By then, you're in damage control mode, and your lawn stays two steps behind all season.
Professional lawn care operators know a secret: 60% of spring lawn problems can be eliminated with a 4-week late-winter protocol. This guide reverse-engineers your spring lawn schedule, mapping every potential problem back to the preventive action you should take now—while your lawn is still dormant and your competition is still watching Netflix.
Soil Testing: The Foundation of Prevention
Here's what separates guesswork from a real plan: knowing exactly what your soil needs before you apply a single pound of fertilizer.
Late winter (February through early March, depending on your zone) is the absolute best time to soil test. The ground is workable, results come back before you need to act, and you have time to source amendments without the spring rush.
What to Test For (And Why It Matters)
Don't waste money on basic N-P-K tests. Get a complete soil analysis that includes:
- pH level: This determines nutrient availability. If your pH is off, you can dump premium fertilizer on your lawn and your grass won't absorb it. Target range: 6.2-6.8 for cool-season grasses, 6.0-7.0 for warm-season.
- Macronutrients (N, P, K): Tells you what your first spring application should contain
- Micronutrients (iron, manganese, sulfur): Deficiencies here cause yellowing that people mistake for disease
- Organic matter percentage: Below 3-5% means you're fighting an uphill battle for water retention
- CEC (Cation Exchange Capacity): Indicates how well your soil holds nutrients
Pro tip: Use Tondio to store your soil test results with GPS coordinates for each testing location. When you're standing in the fertilizer aisle in March, you'll have exact numbers on your phone instead of trying to remember what your lawn needs.
Turning Test Results Into Action
Let's make this concrete. Say your soil test comes back showing:
- pH: 5.8 (too acidic)
- Phosphorus: 28 ppm (adequate)
- Potassium: 95 ppm (low)
- Organic matter: 2.1% (low)
Your late-winter action plan:
- Apply lime at 40-50 lbs per 1,000 sq ft to raise pH to 6.5 (takes 3-4 months to work, which is why you do this NOW)
- Skip phosphorus in your spring fertilizer—you don't need it
- Choose a spring fertilizer with higher K (something like 20-0-10 instead of generic 24-0-4)
- Plan for compost topdressing in early spring to build organic matter
Without this test, you'd probably grab generic starter fertilizer with high phosphorus (wasted money, potential runoff pollution) and wonder why your grass still looks yellowish in May (pH lockout you could have fixed in February).
The Pre-Emergent Window: Missing This Costs You All Spring
Pre-emergent herbicide is the single most important application you'll make all year. Miss this window by two weeks, and you'll spend April through August fighting crabgrass instead of enjoying your lawn.
The Temperature Trigger
Pre-emergent must go down when soil temperature reaches 50-55°F for 3 consecutive days. Not air temperature—soil temperature at 2-inch depth.
For most regions, this means:
- Zone 6-7: Late March to early April
- Zone 5: Mid to late April
- Zone 8: Late February to early March
Common mistake: Waiting until you see forsythia bloom or redbuds flowering. These are decent visual indicators, but they can be off by 1-2 weeks depending on the year. Use an actual soil thermometer or check your local extension service data.
Application Protocol
- Apply at 0.75-1.0 lbs of active ingredient per acre (check your product label for coverage rates)
- Water in with 0.25 inches within 48 hours to activate the barrier
- Mark your calendar for a second application 8-10 weeks later for season-long control
Set up reminders in Tondio based on your region's typical soil warming dates. The app will notify you to check soil temperature and apply when conditions hit your target range.
Critical note: Pre-emergent prevents ALL seeds from germinating for 8-12 weeks. If you're planning spring seeding, these two activities are mutually exclusive on the same areas. More on that in the next section.
Spring Seeding: Why March Fails and What Actually Works
Let me save you $200 and three months of disappointment: seeding cool-season grass in spring is the lowest-probability lawn renovation technique.
The Math That Kills Spring Seeding
Cool-season grass seed needs:
- Soil temperature: 50-65°F for germination
- Consistent moisture for 14-21 days
- Time to establish before summer heat (90°F+ air temps)
In most climates, you get a 3-4 week window where soil is warm enough for germination but air temperature won't hit the 80s consistently. Then you need another 8-10 weeks of establishment before true summer heat.
Do the math: Spring seeding in early April means your new grass is only 10-12 weeks old when July heat arrives. Young grass has shallow roots and high water requirements. You'll water constantly and still see significant dieback.
When Spring Seeding Makes Sense
Spring seeding CAN work for:
- Small bare patches under 50 sq ft where you can hand-water consistently
- Warm-season lawns (bermuda, zoysia) going into their active growth season
- Northern regions (Zone 5 and colder) where "spring" means May and you have until September before frost
For everyone else: Mark your calendar for late August to mid-September dormant seeding instead. Use spring to prepare the seedbed by addressing compaction, pH, and soil quality now.
The Better Spring Approach
Instead of seeding, focus on thickening existing grass:
- Core aeration (when soil moisture is adequate, not saturated)
- Light compost topdressing (1/4 inch) to fill aeration holes
- Starter fertilizer high in phosphorus (18-24-12) to promote root growth
- Proper mowing height (never remove more than 1/3 of blade height)
This approach carries zero risk, builds long-term soil health, and produces visible results in 3-4 weeks. Track your before/after progress with Tondio's photo documentation feature—you'll be shocked at the transformation.
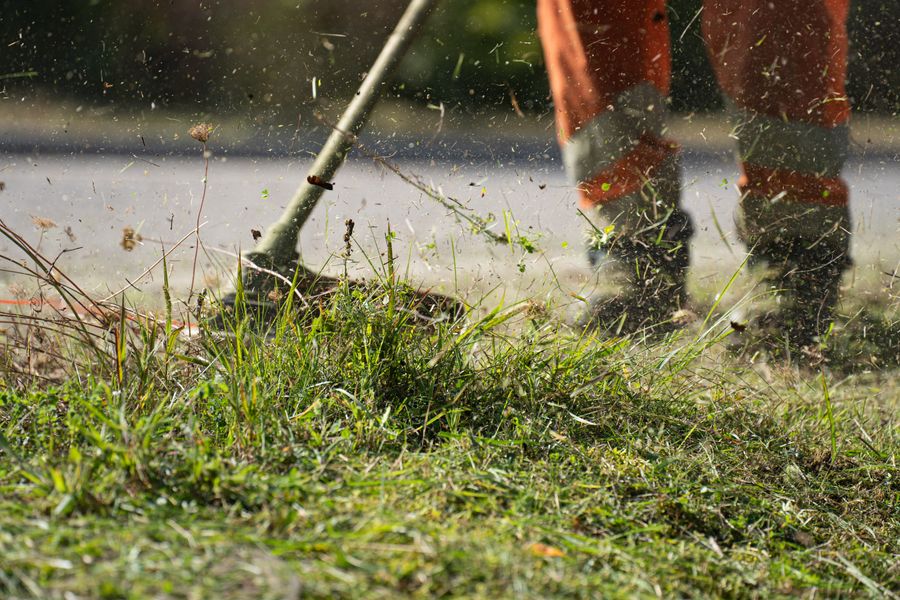
Photo by Pascal Küffer on Pexels
Disease and Deficiency Prevention: Reading the Early Signs
Spring lawn problems announce themselves in late winter—if you know what to look for.
The February Inspection Checklist
Walk your lawn on a dry day in late February and document these warning signs:
Snow mold (gray or pink circular patches 3-12 inches):
- Cause: Prolonged snow cover on unfrozen ground
- Late-winter action: Rake out affected areas to promote air circulation. Apply nitrogen at 0.5 lbs per 1,000 sq ft to push recovery.
- Prevention for next year: Final fall mowing at proper height, avoid late fall nitrogen
Salt damage (brown strips along walkways/driveways):
- Cause: De-icing salt runoff
- Late-winter action: Apply gypsum at 40 lbs per 1,000 sq ft to displace sodium. Water deeply (1 inch) to leach salt below root zone.
- Prevention for next year: Use calcium chloride instead of rock salt, create barriers
Vole tunnels and runs:
- Cause: Rodent activity under snow cover
- Late-winter action: Rake up damaged areas, overseed in fall (not spring), continue mowing to discourage activity
- Prevention for next year: Keep grass height at 2.5-3 inches going into winter, remove dense ground cover near lawn edges
Winter desiccation (straw-colored grass that doesn't green up):
- Cause: Lack of winter moisture in exposed areas
- Late-winter action: Check soil moisture—if top 3 inches are bone dry, water deeply. May need replacement in fall if roots are dead.
- Prevention for next year: Deep watering in late fall, windbreak installation for exposed areas
Use Tondio to log each issue with photos and GPS coordinates. When you're planning your fall prevention strategy in September, you'll have exact locations and documentation of where problems occurred.
Nutrient Deficiency vs. Disease
Many spring "disease" diagnoses are actually nutrient deficiencies made worse by cold soil that limits nutrient uptake.
Nitrogen deficiency (overall pale green/yellow color):
- Applies to entire lawn uniformly
- Most common after wet winter (nitrogen leaching)
- Solution: Light nitrogen application (0.5 lbs per 1,000 sq ft) when grass breaks dormancy
Iron deficiency (yellowing with green veins):
- Often caused by high pH locking out iron
- Most visible in young leaf tissue
- Solution: Chelated iron at 2-4 oz per 1,000 sq ft OR address pH with sulfur
True fungal disease (irregular patches with distinct margins):
- Localized areas, not uniform
- Often has visible mycelium or fruiting bodies
- Progresses/changes daily
- Solution: Proper ID first, then targeted fungicide if necessary
Pro tip: Before you buy fungicide, take close-up photos and post to your local extension service or lawn care forum. Most "disease" problems in spring are cultural issues (compaction, poor drainage, dull mower blades) that fungicide won't fix.
Equipment Prep: The February Advantage
Doing your equipment maintenance in February instead of April saves you money and frustration.
The Sharp Blade Effect
Dull mower blades don't cut grass—they tear it. Torn leaf tips:
- Turn brown within 48 hours (looks like drought stress)
- Create entry points for disease
- Increase water loss by 30-40%
- Make your lawn look ragged even after mowing
Your February equipment checklist:
Mower maintenance:
- Remove blade(s) and have professionally sharpened ($10-15 vs. $25-30 in April rush)
- Change oil and spark plug
- Replace air filter
- Check tire pressure (uneven pressure causes uneven cut)
- Clean undercarriage completely
String trimmer:
- New line/blades
- Spark plug check
- Carburetor cleaning if needed
Spreader calibration:
- Run calibration test with sand or water
- Check settings against manufacturer chart
- Clean thoroughly to prevent corrosion
Why February matters: Repair shops are empty, parts are in stock, and you have time to discover that your mower needs a $200 repair before your grass is 6 inches tall.
Document your maintenance dates and next service intervals in Tondio so you're not guessing whether your blade was sharpened 6 months or 18 months ago.
Your 4-Week Late-Winter Action Plan
Here's your reverse-engineered prevention protocol. Adapt timing to your specific zone:
Week 1 (Early February)
- Soil test (all zones)
- Equipment to service shop
- Inventory fertilizer/amendments needed
- Walk lawn and document winter damage with photos
- Check soil moisture—water if top 3 inches bone dry
Week 2 (Mid-February)
- Apply lime if soil test indicates (below 6.0 pH)
- Apply gypsum to salt-damaged areas
- Rake out snow mold and matted areas
- Order any amendments based on soil test
- Set up Tondio reminders for pre-emergent application window
Week 3 (Late February)
- Pick up serviced equipment
- Source pre-emergent herbicide (before spring rush)
- Plan spring fertilizer based on soil test results
- Install soil thermometer in representative location
- Document bare spots for fall renovation planning
Week 4 (Early March)
- Begin monitoring soil temperature daily
- Light debris cleanup (if ground not saturated)
- Check irrigation system functionality
- Prepare spreader and calibrate
- Review mowing height settings for first mow
When soil hits 50°F for 3 consecutive days:
- Apply pre-emergent herbicide
- Water in with 0.25 inches within 48 hours
- Log application date and product in Tondio
Stop Reacting, Start Preventing
The lawn you see in July is the result of decisions you make in February. While your neighbors are applying their third round of weed control in May and wondering why their grass looks thin, you'll be enjoying the results of a prevention-focused protocol that eliminated problems before they started.
The difference isn't luck or genetics—it's timing and planning. Soil test results drive fertilizer decisions. Pre-emergent goes down at 50°F soil temperature, not when you remember to buy it. Equipment gets serviced in February when shops are empty, not April when you're in line behind 47 other people.
Your lawn care schedule should be defensive, not reactive. Document your late-winter protocol in Tondio this year, refine it based on results, and you'll build a repeatable system that produces professional results year after year.
Now get that soil test scheduled. Your April self will thank you.