How to overseed your lawn in early spring for thick turf by summer
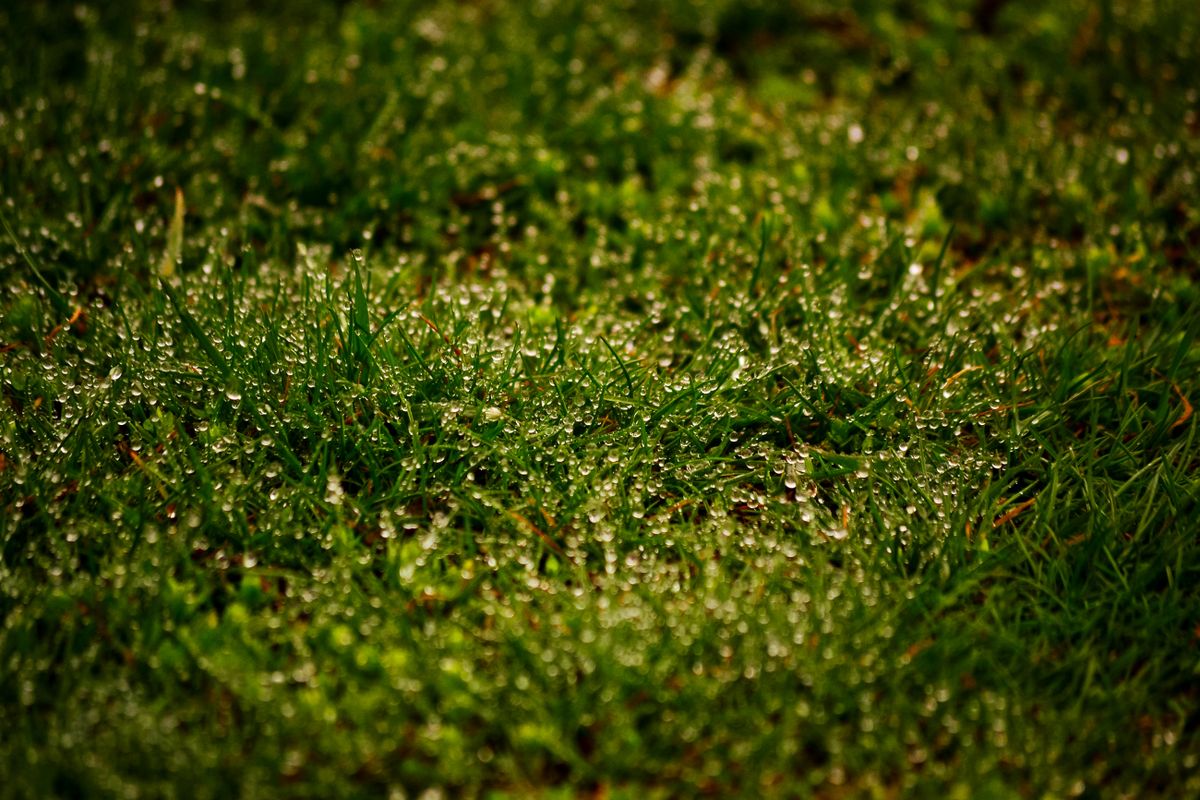
Photo by Рибченко Анастасия on Pexels
By Tondio Team · AI-generated content
Most homeowners wait until fall to overseed, missing the critical spring window that gives new grass 4+ months to establish deep roots before summer stress.
Most lawn care advice tells you to wait until fall to overseed. That's not wrong—but it's costing you six months of potential turf density.
Spring overseeding is the strategy that separates enthusiasts from weekend warriors. While everyone else is waiting for September, you're putting seed down in March or April, giving new grass a full 4-6 months of prime growing conditions to establish deep root systems before summer heat arrives. By the time your neighbors are just thinking about overseeding, you're already enjoying thick, competitive turf that can handle stress and choke out weeds.
The catch? Spring seeding requires precision timing and deliberate moisture management. Miss your window by two weeks or slack on watering during a warm snap, and you'll get patchy germination and wasted seed. But nail the technique, and you'll have the kind of lawn density that makes people slow down as they drive past your house.
Why Spring Overseeding Works (When Most People Think It Doesn't)
The fall-seeding gospel exists for good reasons: cooler temperatures, consistent moisture, less weed pressure. But spring offers something fall can't—time.
When you seed in September, you're racing against dormancy. Your new grass has 6-8 weeks to germinate and establish before growth slows or stops completely for winter. Come spring, those seedlings wake up alongside every weed seed in your soil, competing for resources during the most critical development phase.
Spring-seeded grass gets 16-20 weeks of active growth before summer heat stress kicks in. That's enough time to:
- Develop root systems 3-4 inches deep (vs. 1-2 inches for fall seedlings entering winter)
- Thicken through tillering, creating multiple shoots per seed
- Build carbohydrate reserves to survive summer stress
- Establish dense enough coverage to suppress summer annual weeds through competition
Yes, you'll deal with more weed pressure during germination. Yes, you'll need to be religious about moisture management. But the payoff is a lawn that enters summer already mature and competitive rather than still adolescent and vulnerable.
The Critical Spring Timing Window
Soil temperature, not air temperature or calendar date, determines your seeding window. You need consistent soil temps between 50-65°F at 2-inch depth, which creates the Goldilocks zone for grass germination while still being too cold for crabgrass and other summer annuals.
Cool-Season Grasses (Fescue, Ryegrass, Bluegrass)
Seed when soil temps hit 50-55°F and rising, typically:
- Zone 5-6: Late March to mid-April
- Zone 7: Mid-March to early April
- Zone 8: Early to mid-March
You want to catch that sweet spot where soil is warm enough for 7-14 day germination but you've still got 4-6 weeks before consistent 70°F+ days arrive. In most regions, this gives you a 3-4 week window—miss it and you're fighting germination during temperature swings that stress seedlings.
Warm-Season Grasses (Bermuda, Zoysia, St. Augustine)
Wait until soil temps are consistently 65-70°F, typically:
- Zone 7: Late April to mid-May
- Zone 8-9: Early to mid-April
- Zone 10: Late March to early April
Seed too early and you'll get slow, patchy germination that invites disease. Warm-season grasses need heat to germinate and grow—patience pays off with faster establishment and fewer disease issues.
Pro tip: Use a soil thermometer at 8 AM for three consecutive days to get accurate readings. One warm afternoon doesn't mean your soil is ready. Track your soil temperature readings in Tondio alongside your seeding dates so you can refine your timing window year over year based on actual germination results.
Soil Preparation: The Difference Between OK and Exceptional Germination
You can throw seed on unprepared soil and get some grass. But seed-to-soil contact determines germination rate, and that's controlled entirely by your prep work.
Light Dethatching (Not Scalping)
If your thatch layer exceeds 0.5 inches, you need to dethatch before seeding:
- Set your dethatcher or power rake to barely penetrate the soil surface—you're removing dead organic matter, not tearing up your lawn
- Make two passes in perpendicular directions
- Rake up and remove debris (a thick thatch layer can smother new seedlings)
Common mistake: Aggressive dethatching in spring can damage root systems just as they're breaking dormancy. If your thatch is over 1 inch thick, you waited too long—still dethatch, but expect some temporary browning.
Core Aeration for Compacted Areas
For high-traffic zones or clay-heavy soil:
- Run a core aerator to pull 2-3 inch plugs
- Make 2-3 passes to achieve 20-30 holes per square foot
- Leave plugs on the surface—they'll break down and improve the seedbed
- Seed immediately after aerating while holes are still open
The holes create perfect seed pockets with direct soil contact, and the reduced compaction allows new roots to penetrate deeper faster.
The Final Seedbed Touch
Right before seeding:
- Light rake to create minor surface roughness—perfectly smooth soil doesn't hold seed well
- Level any major depressions where water pools (standing water kills germinating seed)
- Remove rocks, sticks, and debris larger than 1 inch
You want a texture like coarse sandpaper, not a putting green or a freshly tilled garden bed.
Pro tip: Take before photos in Tondio to document problem areas, then photograph the same spots every 10 days during establishment. You'll learn exactly which prep techniques worked best for your specific soil conditions.
Seed Selection: Match Your Existing Turf (Mostly)
The goal of overseeding isn't to completely change your lawn—it's to thicken what you have. That said, spring is your chance to gradually shift toward better-performing varieties.
The 80/20 Rule for Seed Blends
- 80% should match your existing dominant grass type (perennial ryegrass with rye, tall fescue with fescue, etc.)
- 20% can be an improved variety of the same species with better disease resistance, heat tolerance, or drought performance
This gives you immediate visual blending while slowly improving genetic diversity and performance.
Variety-Specific Recommendations
Tall Fescue (most versatile cool-season option):
- Look for turf-type tall fescue (TTTF) varieties, not old "pasture" fescue
- Seek disease resistance to brown patch and leaf spot
- Modern varieties: Titanium 2LS, Firecracker SLS, Bullseye
- Seeding rate: 6-8 lbs per 1,000 sq ft for overseeding (half the rate for new lawns)
Perennial Ryegrass (fast germination, fine texture):
- Germinates in 5-10 days—the fastest cool-season option
- Choose varieties with improved heat tolerance for transition zones
- Modern varieties: Axcel, Paragon GLR, Revenge GLX
- Seeding rate: 5-7 lbs per 1,000 sq ft
Kentucky Bluegrass (self-repairing, slow to establish):
- Takes 14-21 days to germinate—requires patience
- Excels at spreading and filling in bare spots over time
- Often blended with ryegrass for faster establishment
- Seeding rate: 2-3 lbs per 1,000 sq ft (it spreads aggressively once established)
Bermuda (warm-season, aggressive spreader):
- Use hulled seed for 7-10 day germination vs. 14-21 for unhulled
- Improved varieties: Princess 77, Yukon, Latitude 36
- Seeding rate: 1-2 lbs per 1,000 sq ft
Common mistake: Buying "contractor mix" or bargain seed. You're about to invest significant time in watering and care—spend the extra $20 per bag for certified, weed-free, high-germination seed. The germination rate difference between 75% and 95% seed directly translates to turf density.
Use the coverage calculator in Tondio to determine exactly how many pounds you need for your lawn area—it'll save you a mid-project trip to the store or wasted money on excess seed.
Seeding Application: Distribution Matters
Uneven seed distribution is the #1 reason for patchy overseeding results. You want consistent coverage, not random thick and thin areas.
Drop Spreader vs. Broadcast Spreader
For overseeding, drop spreaders win:
- Provide precise, even coverage without throwing seed into beds or sidewalks
- Allow you to carefully control rates in different zones
- Prevent waste and reduce cleanup
Broadcast spreaders work if:
- You're covering large areas (10,000+ sq ft) where time matters
- You don't mind some overspray into beds
- You make perpendicular passes to even out the pattern
The Two-Pass Technique
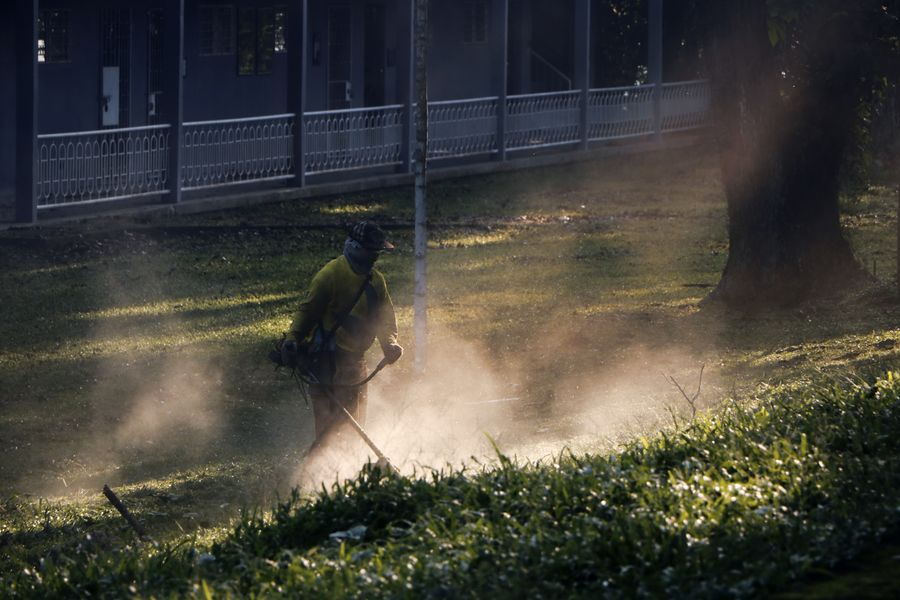
Photo by Reimond Mar Depra on Pexels
Split your seed into two equal portions and make two passes at half-rate:
- First pass: Walk in parallel north-south stripes
- Second pass: Walk in perpendicular east-west stripes
This creates even coverage even if your walking speed varies slightly or your spreader pattern isn't perfectly uniform.
Seed-to-Soil Contact Enhancement
After spreading seed:
- Light drag with a flexible rake or drag mat to work seed into surface irregularities
- Don't bury the seed—grass seed needs light to germinate and should be visible on the surface
- Roll with an empty lawn roller (optional) to press seed firmly against soil—increases germination rate by 10-15%
Pro tip: Log your exact spreader settings and seed rates in Tondio by zone. Next time you overseed, you'll know exactly what worked instead of guessing or re-reading the bag.
Moisture Management: The 21-Day Gauntlet
This is where spring overseeding gets tricky and why most people fail. Fall provides consistent moisture and cool temps. Spring gives you 80°F one week and 45°F the next, with rain or drought arriving randomly.
Week 1-2: The Germination Phase
Keep the top 1 inch of soil consistently moist—not saturated, not dry.
- Water 10-15 minutes per zone, 2-3 times daily depending on sun exposure and wind
- Early morning + midday + late afternoon timing prevents both drying and overnight saturation
- You're looking for "damp paper towel" moisture—press your finger to the soil and it should feel cool and slightly wet
Temperature-based adjustments:
- Below 55°F: Cut back to 1-2 waterings—cool soil retains moisture longer
- Above 70°F: Increase to 3-4 light waterings—seeds dry out in hours
- Windy days: Add an extra light watering—wind accelerates evaporation dramatically
Week 3-4: The Establishment Phase
Once grass reaches 1 inch height, transition to deeper, less frequent watering:
- Water 20-30 minutes per zone, once daily
- Apply in early morning only
- You're encouraging roots to chase moisture downward instead of staying shallow
Week 5+: The Maturation Phase
After the first mowing:
- Shift to 30-45 minutes per zone, every 2-3 days
- Water only in the morning
- Measure with tuna cans—you want 0.5 inches of water per session
- Goal is to push moisture 4-6 inches deep
Common mistake: Overwatering once seedlings emerge. Saturated soil promotes disease and creates shallow roots. If you can press your thumb into the soil and water squeezes out, you're drowning your new grass.
Set watering reminders in Tondio that adjust throughout the establishment period—the app will prompt you to reduce frequency as your seedlings mature, so you don't have to remember the transition timing yourself.
Post-Emergence Care: When to Resume Normal Operations
First Mowing (The Scary One)
Wait until new grass reaches 3-4 inches, typically 14-21 days after germination:
- Use a sharp blade—dull blades tear seedlings out of loose soil
- Cut only the top 1/3 of growth (remove 1 inch if grass is 3 inches tall)
- Bag clippings for the first two mowings to allow light penetration
- Wait until soil is firm—if your mower leaves ruts, it's too wet to mow
The first mowing feels nerve-wracking, but it stimulates tillering (the plant producing additional shoots) which is exactly what creates thick turf.
Fertilization Strategy
Starter fertilizer at seeding:
- Apply 0.5-0.75 lbs nitrogen per 1,000 sq ft using a starter fertilizer (high phosphorus ratio like 18-24-12)
- Phosphorus supports root development during germination
- Apply before or immediately after seeding
First follow-up feeding (3-4 weeks after germination):
- Apply 0.5 lbs nitrogen per 1,000 sq ft using balanced fertilizer
- Switch to slow-release nitrogen to avoid burning immature grass
- This feeding supports tillering and lateral spread
Second follow-up (6-8 weeks after germination):
- Resume your normal fertilization program
- New grass is now mature enough to handle standard application rates
Common mistake: Hitting new seedlings with your usual 1 lb nitrogen per 1,000 sq ft rate. Immature grass can't process heavy nitrogen and you'll encourage disease, burn tips, or promote excessive top growth at the expense of roots.
Weed Control Dilemma
Here's the frustrating reality: you cannot apply pre-emergent herbicides when overseeding—they prevent all seed germination, including your grass.
Your options:
Hand-pull aggressively during the first 4-6 weeks:
- Young weeds pull easily from recently prepared soil
- Focus on removing before they go to seed
- Yes, this is tedious—it's the price of spring seeding
Spot-spray broadleaf weeds after new grass has been mowed 3-4 times:
- Wait until new grass is at least 4-6 weeks old before applying selective herbicides
- Use products labeled safe for new seedlings
- Accept that you'll have more weed pressure than fall seeding—the trade-off for earlier establishment
Apply pre-emergent to areas you're NOT overseeding:
- Prevent crabgrass in your established lawn zones
- Just skip any thin areas you're overseeding
Pro tip: Document weed pressure by zone in Tondio during spring overseeding. You might discover that certain areas establish thick enough to outcompete weeds naturally, while others need pre-emergent the following year instead of overseeding.
The Spring Overseeding Action Plan
2-3 weeks before seeding:
- Monitor soil temperature daily until it hits your target range (50-55°F cool-season, 65-70°F warm-season)
- Purchase seed—calculate coverage and buy 10% extra for touch-up
- Test spreader calibration on a tarp to verify your rate
Seeding week:
- Dethatch if thatch exceeds 0.5 inches
- Core aerate compacted zones
- Light rake to create surface texture
- Apply starter fertilizer
- Seed using two-pass perpendicular method
- Lightly rake or roll to improve seed contact
- Water immediately (first 10-15 minute session)
Week 1-2 (germination phase):
- Water 2-3 times daily, 10-15 minutes per session
- Adjust frequency based on temperature and rainfall
- Keep foot traffic and pets off seeded areas
- Monitor for germination (expect 7-14 days for cool-season, 10-21 for warm-season)
Week 3-4 (establishment phase):
- Reduce to once-daily watering, 20-30 minutes
- Hand-pull visible weeds before they set seed
- Prepare for first mowing when grass hits 3-4 inches
Week 5-8 (maturation phase):
- Mow when grass reaches 3-4 inches, remove only top 1/3
- Transition to every 2-3 day watering, 30-45 minutes
- Apply first follow-up fertilizer (3-4 weeks post-germination)
- Continue hand-pulling weeds
- Resume normal mowing height by week 6-7
Week 9+:
- Return to standard lawn care program
- Apply second follow-up fertilizer (6-8 weeks post-germination)
- Evaluate results and document lessons learned for next season
Stop Waiting for Fall—Start Building Density Now
Every week you delay spring overseeding is a week of potential growth you're leaving on the table. By the time the calendar hits June, your spring-seeded lawn will have root depth and density that fall-seeded lawns won't achieve until the following summer—you're literally a year ahead.
Yes, spring seeding demands more attention than fall. You'll be checking moisture levels daily, adjusting watering as weather swings, and hand-pulling weeds while your neighbors sleep in on Saturday mornings. But when July arrives and your lawn is thick, dark green, and resilient while theirs is going thin and brown, you'll know exactly why you put in the work.
Track every step of your spring overseeding project in Tondio—log soil temps, germination dates, watering schedules, and weekly progress photos. Next spring, you'll have a complete playbook specific to your lawn's conditions instead of starting from scratch. And when your lawn looks incredible by Memorial Day, you'll have the photo timeline to prove exactly how you did it.
Get your soil thermometer out. Spring seeding season is shorter than you think, and the best lawns in your neighborhood don't wait for fall.