Best winter lawn fertilizer for spring green-up: timing and application rates
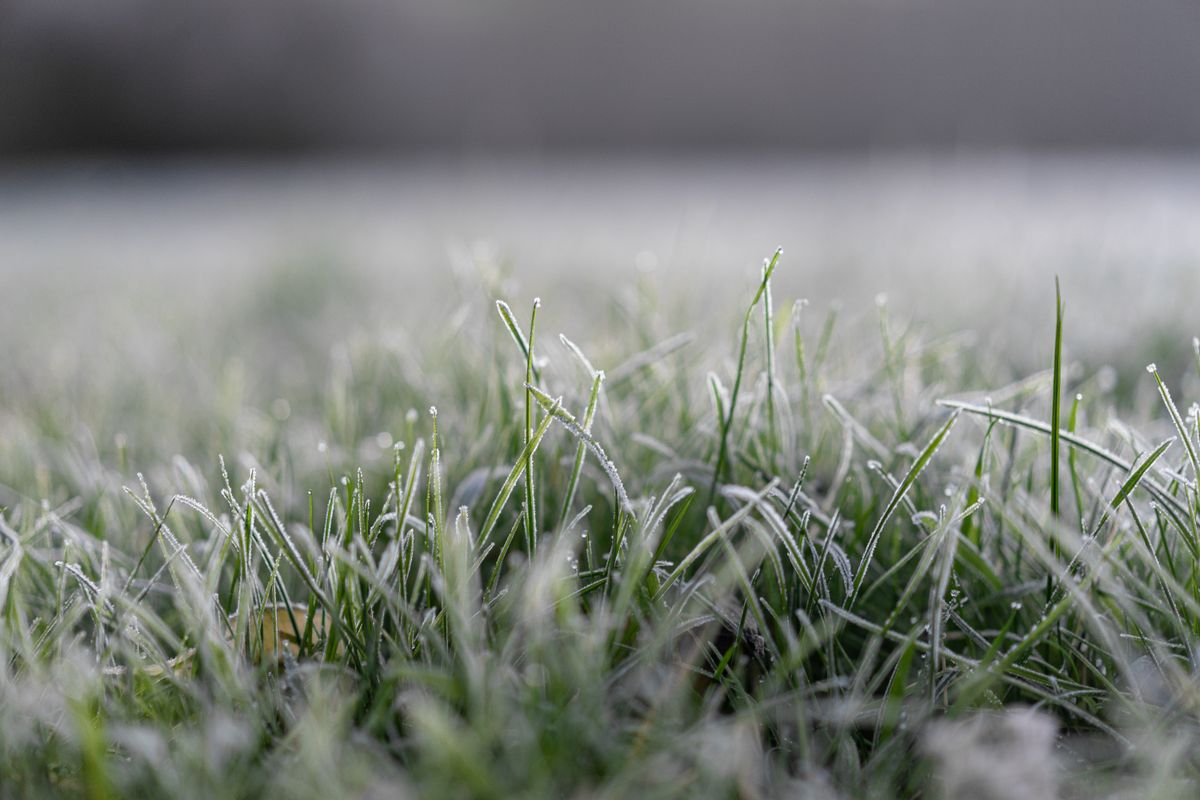
Photo by Guillaume Meurice on Pexels
By Tondio Team · AI-generated content
Master late-winter nitrogen timing for explosive spring growth. Learn soil temp thresholds, application rates, and how to avoid disease pressure.
Most lawn pros waste their first fertilizer application of the year—either applying too early and feeding the weeds, or waiting too long and missing the narrow window when your turf is biochemically primed to explode with growth.
The difference between a lawn that greens up two weeks ahead of the neighbors and one that limps into spring isn't luck—it's understanding dormancy-break fertilization. This isn't your fall winterizer application. This is a precisely timed nitrogen boost that intercepts grass as it transitions from dormancy to active growth, fueling aggressive root development and tillering before the spring growth surge demands it.
Get the timing wrong by just 10 days, and you're either burning money on frozen ground or creating a lush canopy with shallow roots that invites dollar spot and brown patch the moment temperatures spike. Here's how to nail it.
Why winter dormancy-break fertilizers differ from fall applications
Your fall winterizer and late-winter spring prep serve completely opposite physiological goals, which is why using the same approach for both is a costly mistake.
Fall applications (late October through November) focus on carbohydrate storage and root hardening before dormancy. You're using moderate nitrogen rates (0.5-0.75 lbs N/1,000 sq ft) with high potassium to strengthen cell walls and maximize root reserves. The grass isn't trying to grow—it's trying to survive.
Dormancy-break applications (late February through early April, depending on region) target the brief window when soil temperatures rise above 50-55°F consistently, triggering active root growth before shoot growth dominates. Your grass is waking up hungry, and the metabolic machinery that drives cell division and protein synthesis needs nitrogen now—not three weeks from now when a slow-release product finally breaks down.
The timing difference matters because:
- Spring weeds germinate in the same soil temperature window. Apply too early (below 50°F soil temps), and you're feeding crabgrass and Poa annua, not your turf.
- Nitrogen uptake efficiency peaks during this transition phase. Root growth outpaces shoot growth for a brief 2-3 week window, meaning nitrogen goes into building root mass instead of excessive top growth that you'll mow off.
- Disease pressure is still low but rising. Apply too much nitrogen or too late (when nighttime air temps consistently exceed 55-60°F), and you create dense, succulent growth right as fungal pathogens become active.
Pro tip: Document your soil temps and application dates in Tondio year over year. The pattern will reveal your specific microclimate's ideal window, which can vary by 2-3 weeks even within the same zip code depending on sun exposure and soil type.
Soil temperature thresholds that signal readiness for nitrogen
Forget the calendar. Soil temperature at 2-4 inch depth is your only reliable trigger for dormancy-break fertilization.
The critical numbers by grass type
Cool-season grasses (tall fescue, Kentucky bluegrass, perennial ryegrass):
- Begin root growth: 45-50°F soil temperature
- Optimal fertilization window: 50-55°F and rising consistently
- Peak nitrogen uptake: 55-65°F soil temperature
Warm-season grasses (bermudagrass, zoysiagrass, St. Augustine):
- Begin root growth: 55-60°F soil temperature
- Optimal fertilization window: 60-65°F and rising consistently
- Peak nitrogen uptake: 65-75°F soil temperature
"Consistently" means 3-5 consecutive days at or above the threshold temperature. A single 55°F day followed by a week of 40°F weather doesn't count—that's just a tease that will leave surface-applied nitrogen vulnerable to volatilization or runoff.
How to monitor soil temperature
The $15 soil thermometer is one of the highest-ROI tools in your operation:
- Measure at 9-10 AM for most accurate readings (soil temps lag air temps by several hours)
- Test in multiple locations if you manage properties with varied sun exposure
- Track the 3-day moving average, not individual readings
- Watch the trend direction—sustained warming matters more than hitting the exact number once
For cool-season lawns, you're typically looking at late February through March in transition zones (Zone 7), March through early April in northern regions (Zones 4-6). For warm-season turf, late March through April in southern zones (8-9), April through May in transition zones.
Common mistake: Using air temperature as a proxy. A sunny 65°F day in late February feels like spring, but if soil temps are still 45°F, root activity is minimal and nitrogen uptake is maybe 20% of what it will be two weeks later. You're just feeding the soil microbes that will immobilize that nitrogen before your grass can access it.
Set a reminder in Tondio to start checking soil temps daily once you're within 3 weeks of your historical green-up date—this keeps you from missing the window during a busy spring schedule.
Slow-release vs. quick-release nitrogen: trade-offs for spring
The nitrogen source you choose for dormancy-break feeding has massive implications for both performance and risk management.
Quick-release nitrogen (water-soluble)
Sources: Urea, ammonium sulfate, ammonium nitrate Availability window: 7-14 days N release rate: 70-100% available immediately
Advantages:
- Immediate root response when soil temps are in the optimal window
- Predictable timing—you control exactly when nitrogen is available
- Lower cost per pound of N
- Visual response in 5-7 days for client satisfaction
Disadvantages:
- High burn risk if applied above 0.75 lbs N/1,000 sq ft
- Volatilization losses if not watered in within 24 hours (especially urea)
- Leaching potential with heavy spring rains
- Single feeding—gone in 2 weeks, requiring follow-up apps
Best use case: When soil temps are confirmed in the optimal zone and you want aggressive early root development. Ideal for professional applicators who can monitor conditions and water in immediately.
Slow-release nitrogen (controlled-release)
Sources: Polymer-coated urea, sulfur-coated urea, methylene urea, IBDU Availability window: 6-12 weeks depending on coating technology N release rate: 20-40% available initially, remainder releases via temperature and moisture
Advantages:
- Extended feeding through the critical spring growth phase
- Lower burn risk at higher application rates
- Reduced labor—one application instead of two or three
- Better environmental profile with reduced leaching and volatilization
Disadvantages:
- Higher cost—often 2-3x per pound of N vs. quick-release
- Delayed initial response if applied too early (coating technology won't release if temps drop)
- Less precise timing—you're trusting the coating to release when temperatures dictate
- Variable performance with extreme weather (cold snaps can stall release)
Best use case: When you need sustained feeding through spring but can't guarantee multiple applications, or when managing clients who resist frequent service visits.
The hybrid approach (what most pros actually use)
A 50/50 blend of quick and slow-release nitrogen gives you the best of both worlds:
- 0.4 lbs quick-release N/1,000 sq ft for immediate root stimulation
- 0.4 lbs slow-release N/1,000 sq ft for sustained feeding through April-May
Total application: 0.8 lbs N/1,000 sq ft—aggressive enough to maximize the dormancy-break window without excessive burn risk, and with enough staying power that you're not back in 3 weeks scrambling for the next application.
For a 10,000 sq ft property, that's:
- 8 lbs total nitrogen needed
- Using a 30-0-5 fertilizer with 50% slow-release: 267 lbs of product (26.7 lbs per 1,000 sq ft)
Track your coverage calculations in Tondio to avoid the math errors that lead to over-application and disease issues later.
Pro tip: If you have to choose one or the other, go quick-release for cool-season grasses (you'll be back for spring apps anyway) and slow-release for warm-season grasses (longer growing season spreads out the value).
Application rates by grass type and existing soil test data
Cookie-cutter application rates are for homeowners. Professionals dial in nitrogen based on grass species, soil fertility baseline, and spring growth objectives.
Cool-season grass targets
Aggressive spring green-up program:
- Tall fescue: 0.75-1.0 lbs N/1,000 sq ft at dormancy break
- Kentucky bluegrass: 0.75-1.0 lbs N/1,000 sq ft at dormancy break
- Perennial ryegrass: 0.5-0.75 lbs N/1,000 sq ft at dormancy break (responds faster, needs less)
Maintenance program (good existing color, focus on root development):
- All cool-season types: 0.5-0.6 lbs N/1,000 sq ft at dormancy break
Warm-season grass targets
Aggressive spring green-up program:
- Bermudagrass: 0.5-0.75 lbs N/1,000 sq ft at dormancy break, then 1.0 lbs N/1,000 sq ft 4-6 weeks later
- Zoysiagrass: 0.5-0.6 lbs N/1,000 sq ft at dormancy break (slower to green, don't push it)
- St. Augustine: 0.5-0.75 lbs N/1,000 sq ft at dormancy break
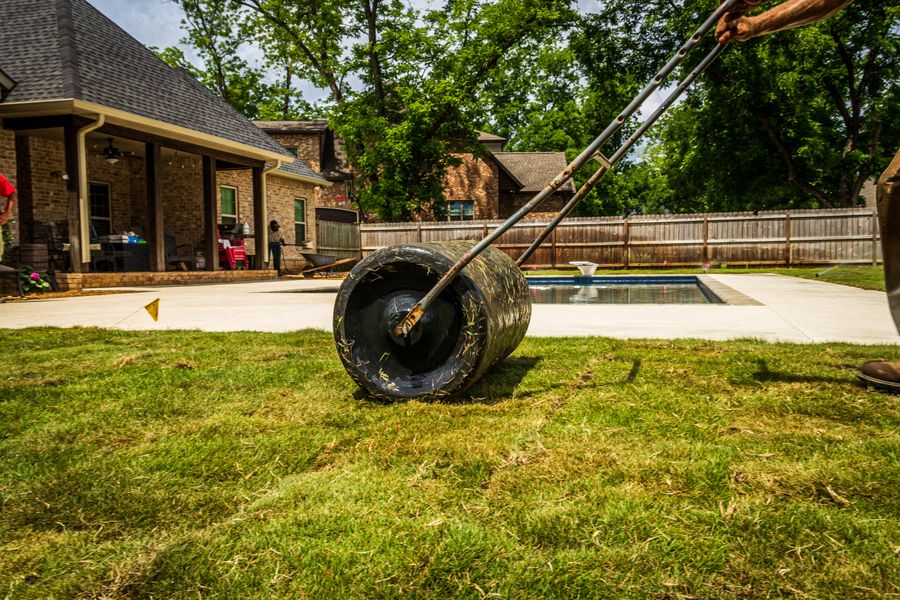
Photo by William Adams on Pexels
Maintenance program:
- Bermudagrass: 0.5 lbs N/1,000 sq ft
- Zoysiagrass/St. Augustine: 0.25-0.4 lbs N/1,000 sq ft (avoid excessive spring growth that invites chinch bugs)
Adjustments based on soil test data
If you're working without a soil test, you're guessing. But most pros are, so here's how to adjust when you do have data:
Organic matter content:
- Below 3%: Add 0.1-0.2 lbs N to base rate (poor nutrient holding capacity)
- 3-5% (ideal): Use base rates above
- Above 5%: Reduce by 0.1-0.2 lbs N (soil will mineralize significant nitrogen as temps warm)
Existing soil nitrogen levels:
- Low (under 15 ppm): Use upper end of rate range
- Medium (15-25 ppm): Use middle of rate range
- High (over 25 ppm): Consider skipping dormancy-break app entirely or going with 0.25-0.35 lbs N maximum
Phosphorus and potassium status:
- If P or K are deficient per soil test, use a complete fertilizer (like 24-5-11 or 18-6-12) instead of straight nitrogen
- If P and K are adequate or high, use a nitrogen-only or high-N formulation (like 30-0-5 or 34-0-4) to avoid luxury consumption and runoff
The difference between a $40 soil test and guessing at nitrogen rates is roughly $200-500 in wasted fertilizer across a season—plus the disease pressure from over-application. Use Tondio to store your soil test results and recommendations so you're not hunting for the PDF every spring when it's time to order product.
Calculate your exact application amount
Formula: (lbs N desired per 1,000 sq ft × total sq ft ÷ 1,000) ÷ (% N in bag ÷ 100) = total lbs of product needed
Example: 12,000 sq ft lawn, targeting 0.75 lbs N/1,000 sq ft, using 28-0-5:
- (0.75 × 12,000 ÷ 1,000) ÷ (28 ÷ 100)
- (0.75 × 12) ÷ 0.28
- 9 ÷ 0.28
- 32.14 lbs of product (round to 32 lbs)
That's 2.68 lbs of product per 1,000 sq ft for this specific fertilizer and rate.
How to avoid spring disease pressure from over-application
The same aggressive nitrogen application that drives explosive spring growth can turn your lawn into a disease incubator if you don't manage the risk factors.
The nitrogen-disease connection
Excess nitrogen creates disease-favorable conditions through:
- Succulent tissue production: High nitrogen = thin cell walls and high moisture content = easy pathogen penetration
- Dense canopy development: Excessive shoot growth reduces air circulation and extends leaf wetness duration
- Reduced carbohydrate reserves: Rapid shoot growth depletes root carbohydrate stores, weakening plant defense responses
- Thatch acceleration: More clippings = faster thatch buildup = humidity retention at the crown
The diseases you're most likely to trigger with aggressive dormancy-break fertilization:
Cool-season grasses:
- Dollar spot (most common)—appears as silver-dollar sized tan patches, especially in mornings with heavy dew
- Brown patch—large irregular patches with dark "smoke ring" edges when actively spreading
- Pythium blight—greasy, matted patches in humid conditions above 80°F
Warm-season grasses:
- Spring dead spot (bermudagrass)—circular dead patches appearing as grass greens up, actually infected previous fall
- Large patch (zoysiagrass, St. Augustine)—irregular patches with orange/brown margins
- Gray leaf spot (St. Augustine)—most common when pushing heavy nitrogen in warm, humid springs
Risk management strategies
1. Never exceed 1.0 lbs N/1,000 sq ft in a single dormancy-break application
This is your hard ceiling. Going higher doesn't accelerate green-up meaningfully—it just creates excessive top growth and disease risk. If you want more than 1.0 lb total nitrogen for spring, split it into two applications 3-4 weeks apart.
2. Pair nitrogen with adequate potassium
Potassium strengthens cell walls and improves disease resistance. Your N:K₂O ratio should be roughly 2:1 to 3:1 for spring applications. If using straight nitrogen (like 34-0-0 urea), consider a separate potassium application (0-0-50 SOP) at 1-1.5 lbs K₂O/1,000 sq ft within a week of nitrogen.
3. Avoid late-afternoon watering
If you need to water in your application, do it in the early morning (5-9 AM). Watering in late afternoon means turf goes into evening with wet foliage—the 8-10 hour leaf wetness window many fungal pathogens need to infect.
4. Maintain mowing height at upper end of range
Higher cut = deeper roots and better stress tolerance:
- Tall fescue: 3.5-4 inches
- Kentucky bluegrass: 2.5-3.5 inches
- Perennial ryegrass: 2.5-3 inches
- Bermudagrass: 1-1.5 inches (maintained, not scalped)
- Zoysiagrass: 1.5-2 inches
- St. Augustine: 2.5-3.5 inches
5. Monitor disease pressure actively
Take weekly photos with Tondio during the 4-6 weeks following dormancy-break fertilization. Early disease detection means you can treat with fungicides before you lose significant turf. Look for:
- Changes in color uniformity
- Patches that don't respond to the nitrogen application
- Unusual patterns in morning dew retention
If you spot early disease symptoms, hold your next nitrogen application until you've addressed the pathogen. More nitrogen won't help—it'll make it worse.
6. Consider preventive fungicide on high-value properties
If you're managing premium properties (sports fields, high-end residential, commercial showcase properties), a preventive fungicide application 7-10 days after dormancy-break fertilization provides insurance:
- For dollar spot: DMI fungicide (propiconazole) or QoI fungicide (azoxystrobin)
- For brown patch: DMI fungicide or SDHI fungicide (fluxapyroxad)
- For Pythium: mefenoxam or phosphorous acid
Cost is $30-70 per 10,000 sq ft depending on product, but it's cheaper than a disease outbreak and renovation.
Common mistake: Assuming organic or slow-release nitrogen eliminates disease risk. It reduces it, but doesn't eliminate it. Slow-release products can still deliver excessive nitrogen if temperatures spike and cause rapid coating breakdown, releasing all the nitrogen at once. Monitor growth response regardless of product type.
Your late-winter fertilization action plan
Here's your step-by-step game plan for nailing dormancy-break fertilization:
3-4 weeks before expected green-up:
- Pull previous year's soil test or schedule new testing
- Review last year's application dates and results in Tondio
- Order fertilizer based on soil test recommendations (account for supply chain delays)
- Calibrate spreader with actual product you'll be using
- Start monitoring soil temperatures daily
When soil temps hit 50-55°F (cool-season) or 60-65°F (warm-season) for 3+ consecutive days:
- Verify weather forecast shows no major cold snap in next 7 days
- Verify no heavy rain (>0.5 inch) forecast in next 48 hours
- Mow if grass height exceeds ideal height by more than 1 inch
- Apply fertilizer in early morning or late afternoon (avoid midday heat)
- Water in within 24 hours with 0.25-0.5 inches of irrigation
- Document application in Tondio with product, rate, and weather conditions
- Take pre-application photos for comparison
7-14 days after application:
- Photograph lawn to document green-up response
- Inspect for any disease symptoms (discoloration, patches, unusual patterns)
- Adjust mowing schedule as growth rate increases
- Note date of first visible green-up for future reference
4-6 weeks after application:
- Evaluate nitrogen response and plan next application timing
- Soil test again if you skipped it earlier (now you'll have baseline plus response data)
- Compare photo documentation to track year-over-year improvement
Win spring before it starts
The lawn care season isn't won in July when you're fighting heat stress and disease—it's won in late winter when you intercept grass at its most metabolically responsive phase and fuel root development that carries through summer.
Dormancy-break fertilization isn't about making grass green faster. It's about building the root system and carbohydrate reserves that determine whether your turf thrives through spring growth or limps into summer stressed and vulnerable.
The difference between average and exceptional spring performance comes down to three things: precise timing based on soil temperature, correct nitrogen rates adjusted for grass type and soil conditions, and risk management that prevents disease from erasing your gains.
Master this window, and you're not just ahead of schedule—you're ahead of 90% of operators who treat spring fertilization as calendar-based guesswork.
Ready to stop guessing and start tracking what actually works? Tondio helps you document applications, monitor results with photo timelines, and build the year-over-year data that transforms spring fertilization from an educated guess into a repeatable system. Your future self (and your clients' lawns) will thank you.